
While third-party options like Audacity offer more controls over voice recording, the built-in sound recorder will work quite well if you simply want to record your voice without any mess.
Record Audio on Windows 11 Using the Sound Recorder App
Here’s how you can use the native Recorder app to record audio on your Windows 11 PC.
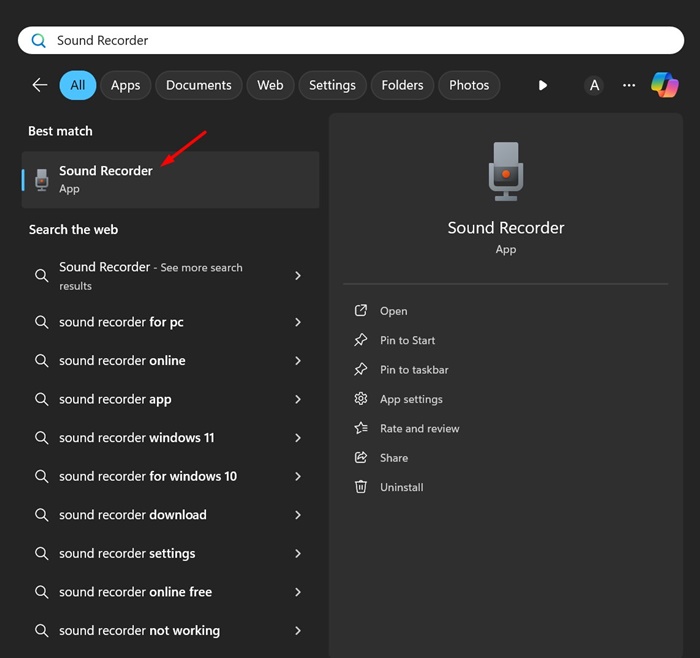
1. Open the Sound Recorder app from the Windows 11 Search.

2. When the Sound Recorder app opens, in the bottom left corner, select the mic you want to use for recording.
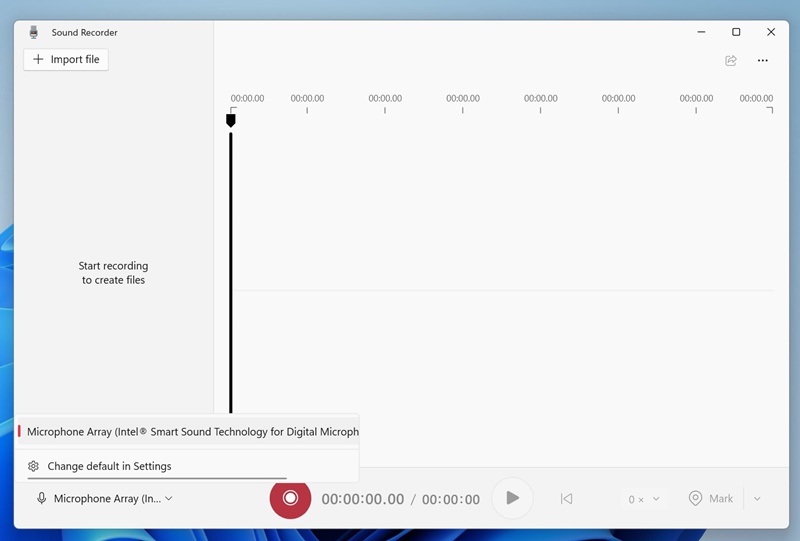

3. Tap on the Record button (Red one) at the bottom of the screen.
4. You need to start speaking into the mic; the app will automatically record your voice.
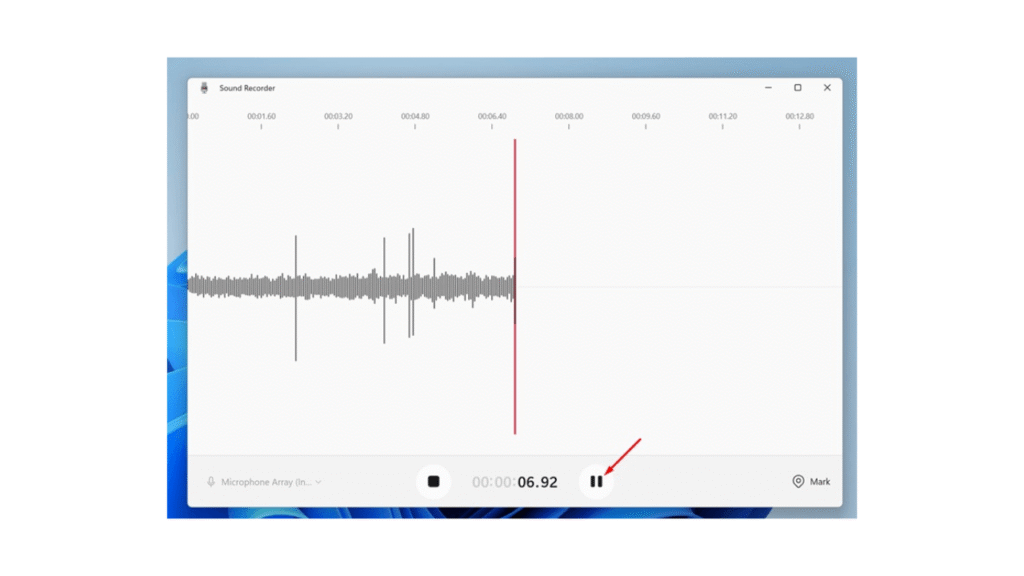
5. You can pause the recording by clicking the Pause button.


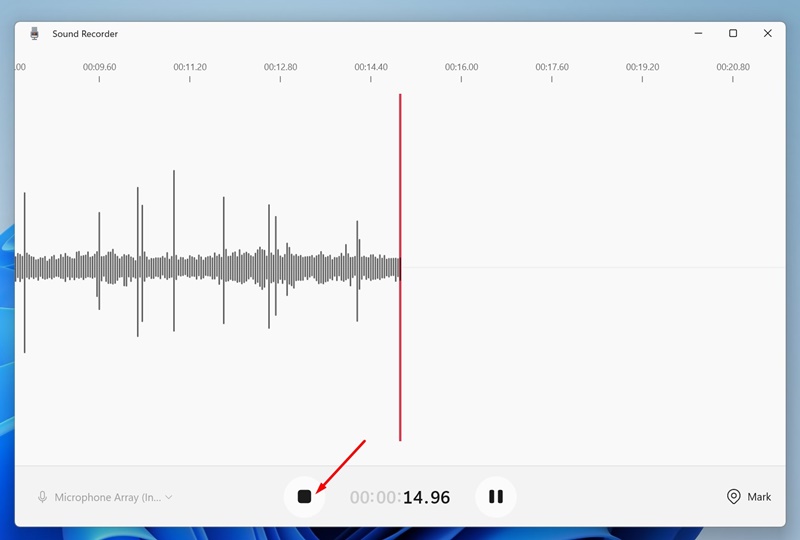
6. Click the Stop button.

7. Once you stop recording, the sound recorder app automatically saves the recording. The recorded audio clips are in the left sidebar.
8. If you want to share the recording, right-click on the Recording and select Show in folder.
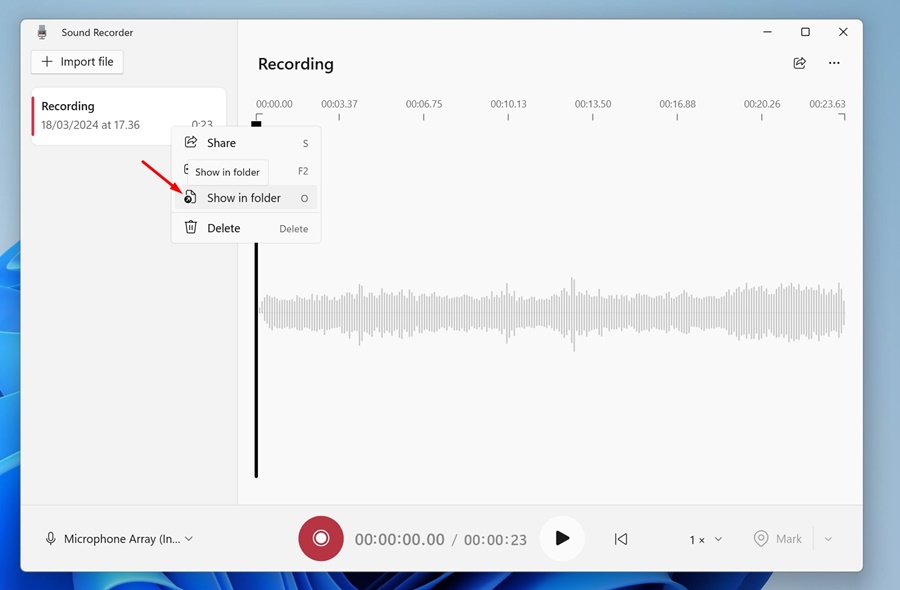

9. This will open the Sound Recordings folder. You can now copy the recordings to a different folder if you want.
How to Change the Recording Format?
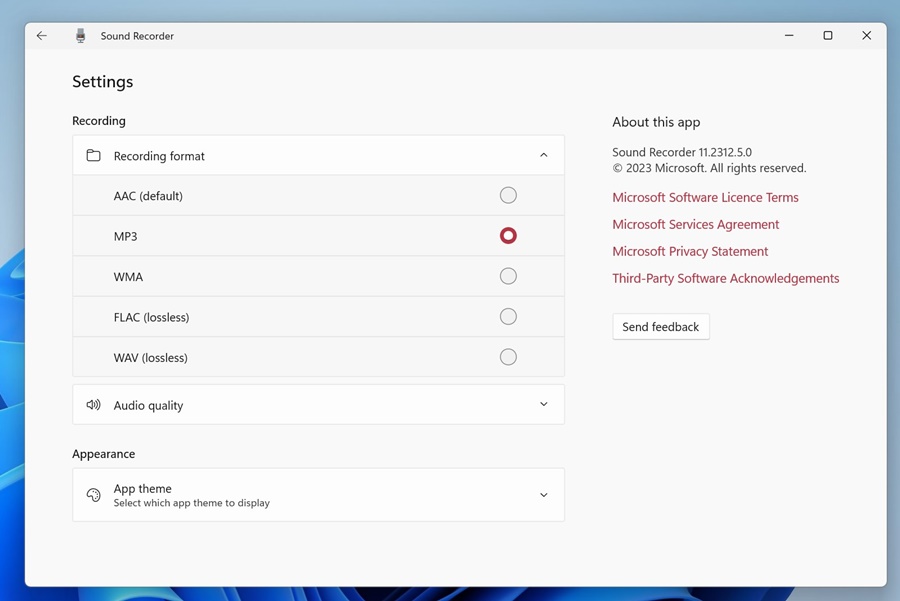
The sound recorder app of Windows 11 saves the audio recordings in M4A format. However, you can change this to a more popular format. Here’s how to change it.
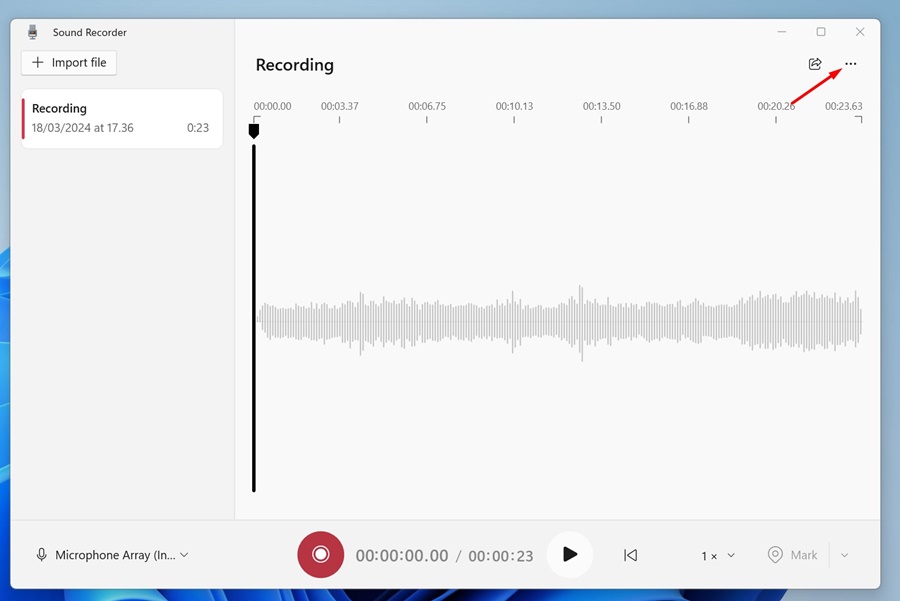
1. Click on the three dots at the top right.

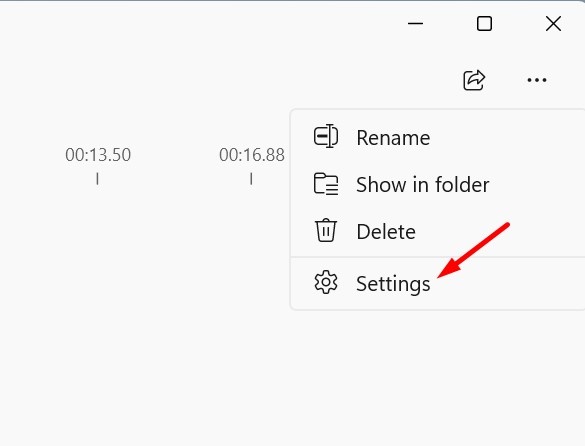
2. Select Settings.

3. Expand the Recording Format and select MP3 or any other popular file format you choose.
2. Record Audio on Windows 11 with Audacity
Audacity is a free and open source Windows app that provides lots of useful audio recording & editing features. Here’s how to use it for recording audio.
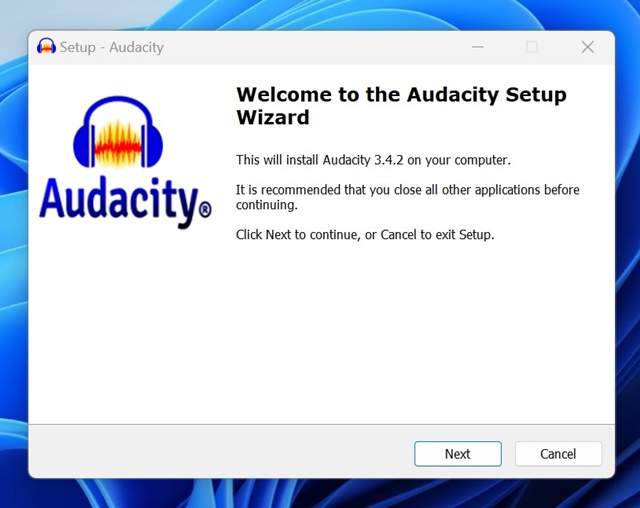
1. Download & install Audacity on your computer.

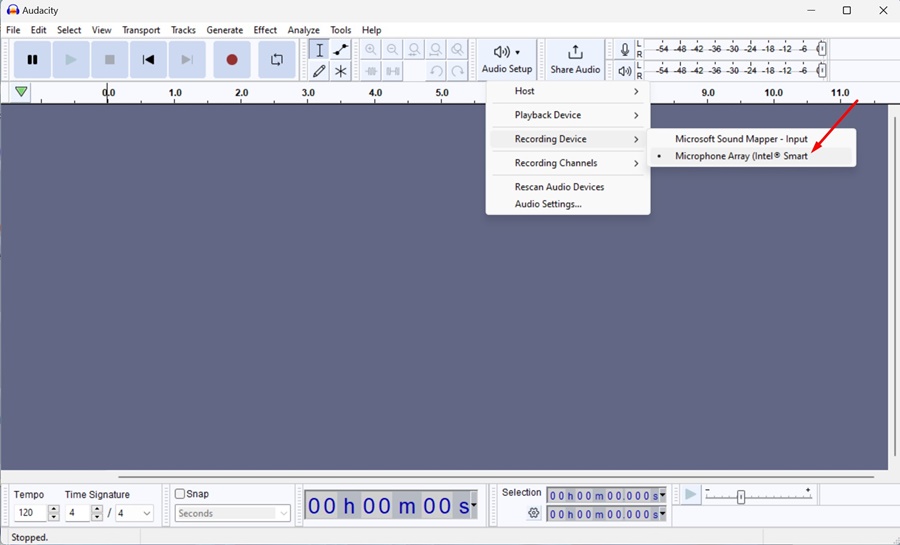
2. Open the app and click on the Audio Setup > Recording Device.
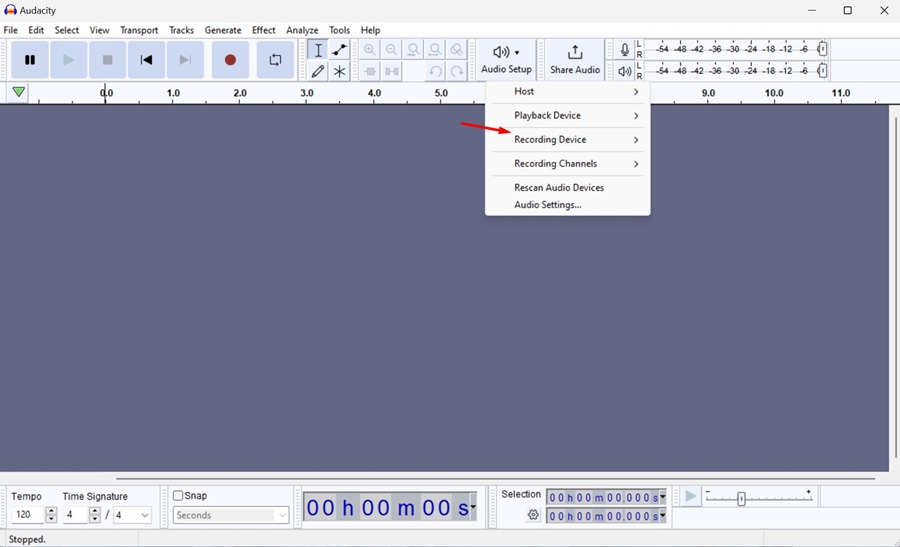

3. On the Recording device menu, select your Microphone.

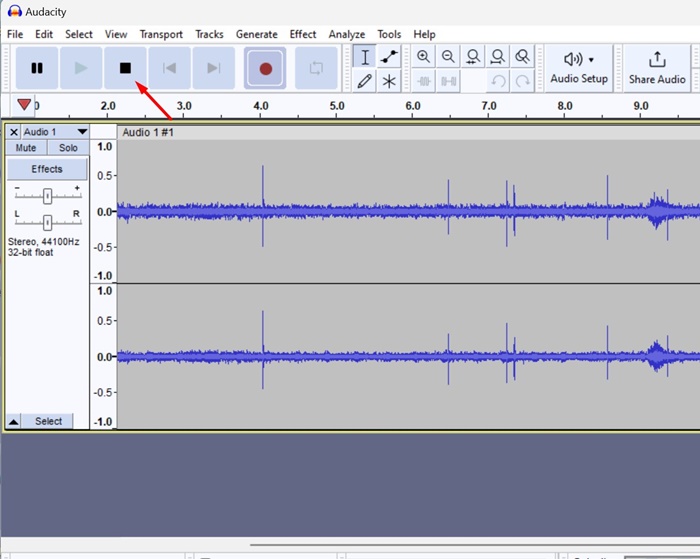
4. To start recording the audio, click the Record (Red button) at the top toolbar.
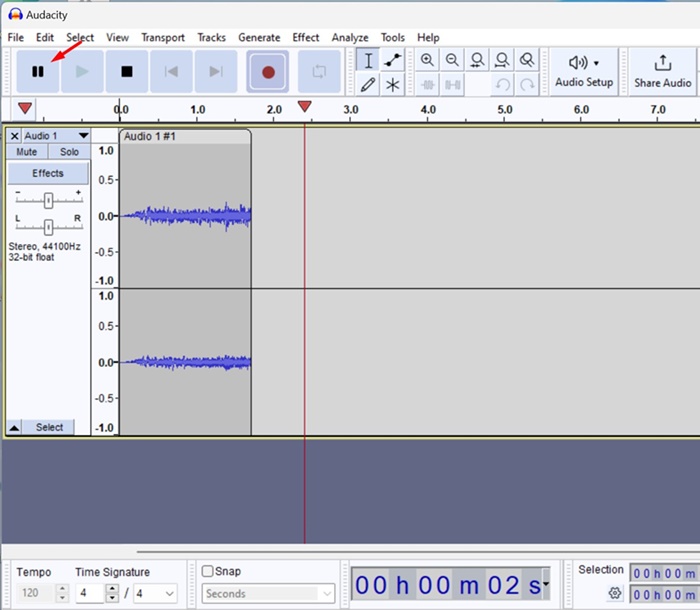

5. Speak into your mic. You can pause the recording by clicking on the Pause button.
6. To stop the voice recording, click Stop.

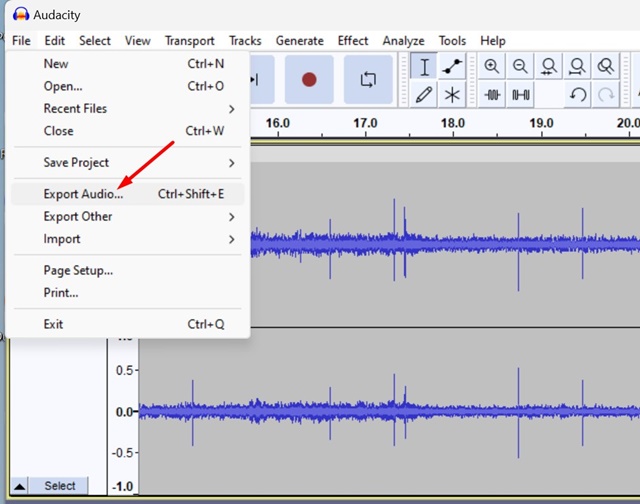
7. Once done with the recording, click on File > Export Audio.

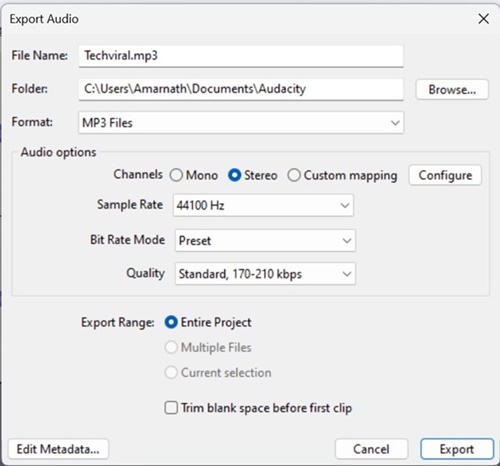
8. In the Export Audio dialog box, select the Folder to save the recording, select the file format, and click Export.

These are the best ways to record audio on Windows 11. If you need more help recording audio on Windows 11, let us know in the comments below.