Learn how to hide any specific drive in Windows using simple methods. Keep your data private and secure with this easy step-by-step guide.
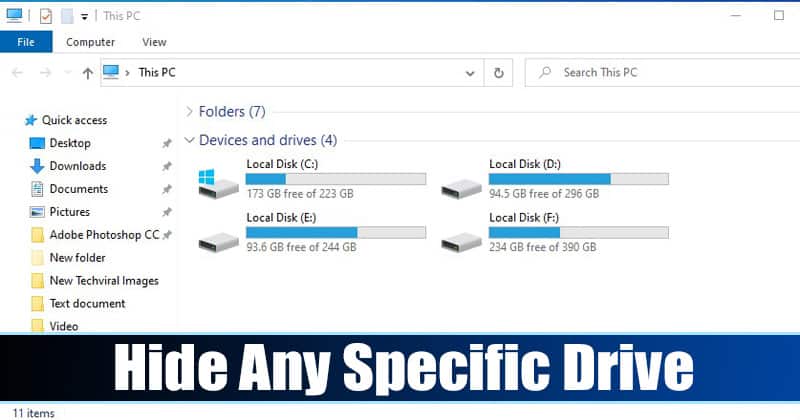
“Why You Might Want to Hide any specific Drive in Windows
we have shared quite a few Windows tricks that depend on the Local Group Policy Editor. You can customize a few core features of Windows by making changes to the Local Group Policy.
You can easily edit a few settings in Local Group Policy to block the Control Panel, block the CMD, Prevent Access to Hard Disk Drive, and more. Today, we will share another best Local Group Policy trick that allows you to hide disk drives.
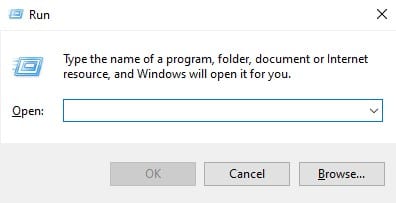
1. Press the Windows Key + R button together to open the RUN dialog box.
2. Enter the term gpedit.msc and hit Enter.
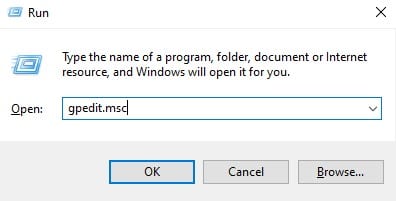
3. The above command will open the Local Group Policy Editor.
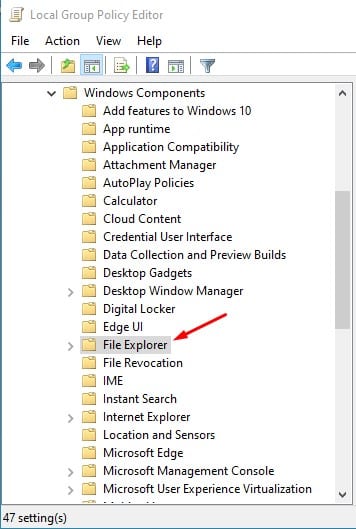
4. Navigate to the path – User Configuration > Administrative Templates > Windows Components > File Explorer.
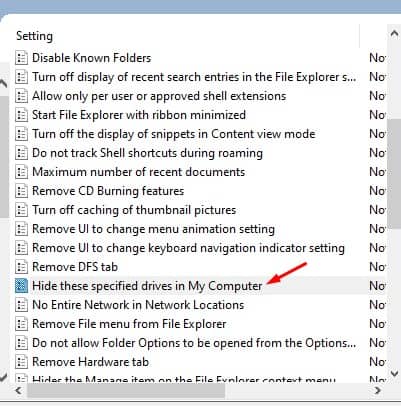
5. Find and double click on the option Hide these specified drives in My Computer.
6. Select Enabled, and on the Pick one of the following combinations, choose the drive you want to hide.
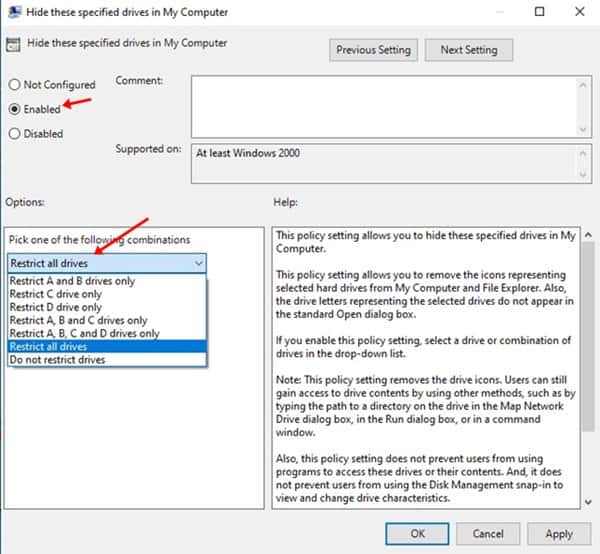
7. You can hide multiple drives from the same page. Once done, click on the Apply button and then on Ok.
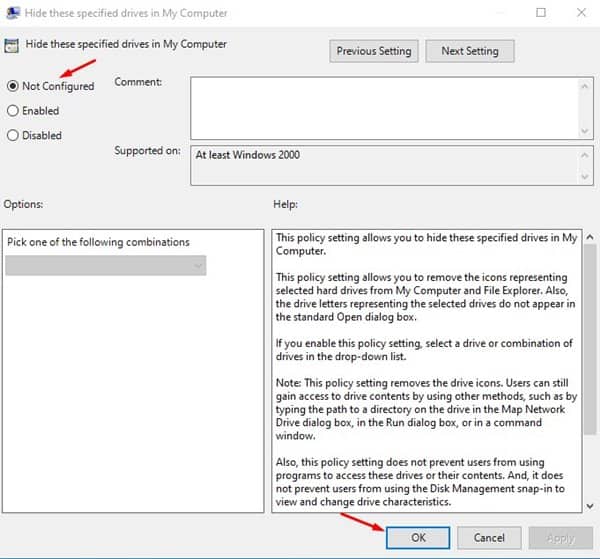
8. To revert the changes and unhide the drives, select Not Configured on Step no. 6.
This article is all about how to hide specific drives in Windows. I hope this article helped you! Please share it with your friends also. If you have any doubts related to this, let us know in the comment box below.