
If you are using Windows 11 and often feel the need for manual clipboard transfer from one device to another, you should immediately enable the clipboard syncing. Below, we have shared some simple steps to enable clipboard syncing on Windows 11 computers. Let’s get started.
How to Set Up Parental Controls on Windows 11
How to Enable Clipboard Syncing in Windows 11
To enable this new feature, you must ensure your PC/Laptop uses the latest version of Windows 11. So, update your operating system and then follow the steps shared below.
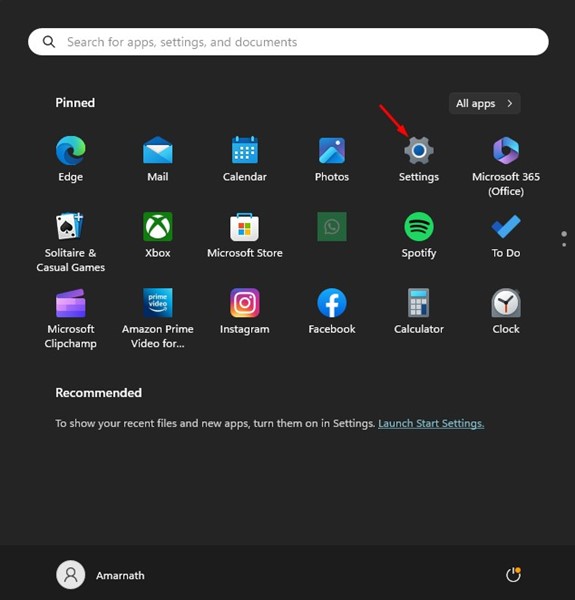
1. Press the Windows Key + I button on your keyboard. This will open the Settings app.
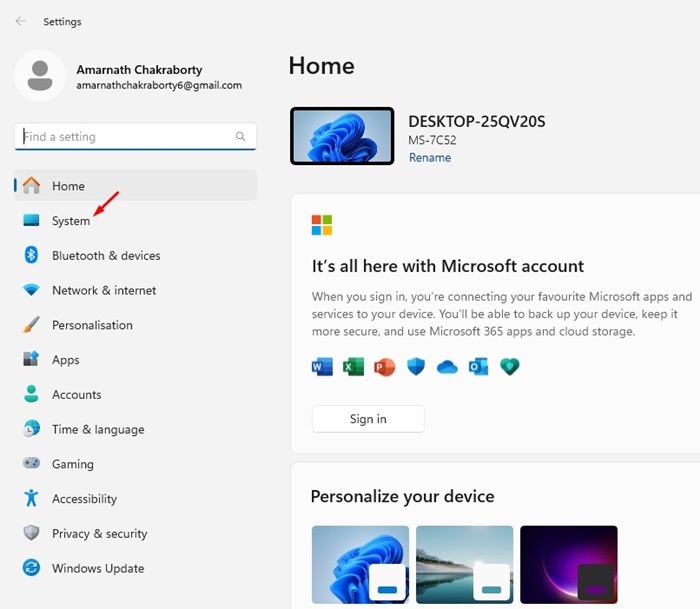
2. Switch to the System tab on the left side.
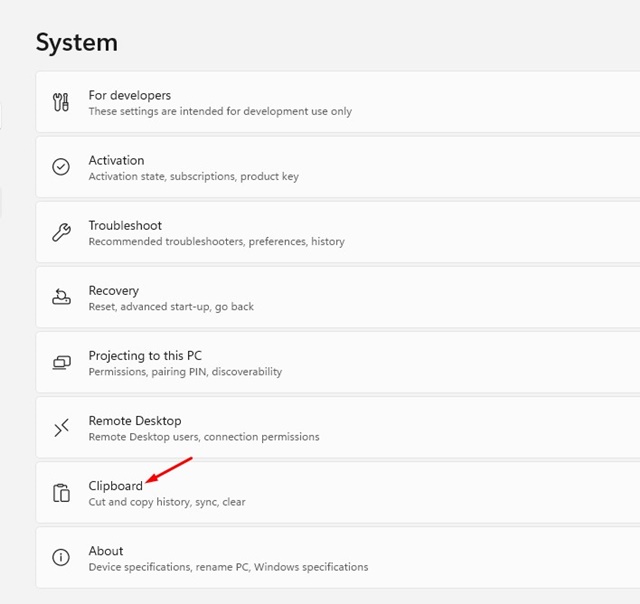
3. Scroll down and click on Clipboard.
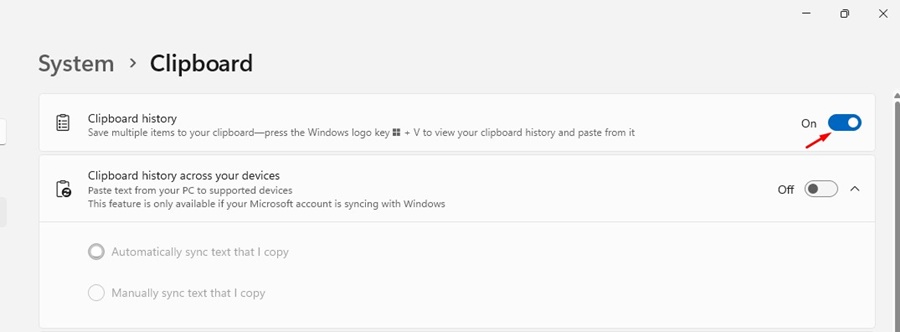
4. Enable the toggle for Clipboard History.
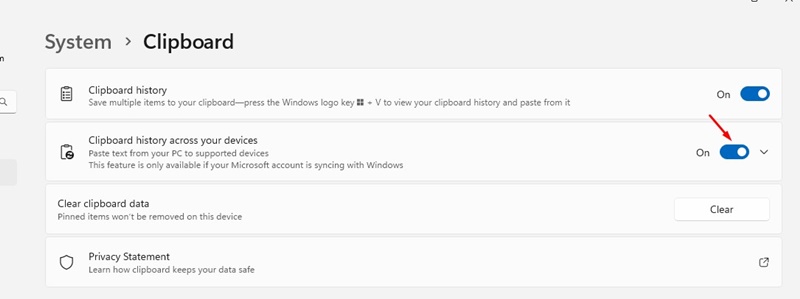
5. Enable the toggle for Sync across your devices as well.
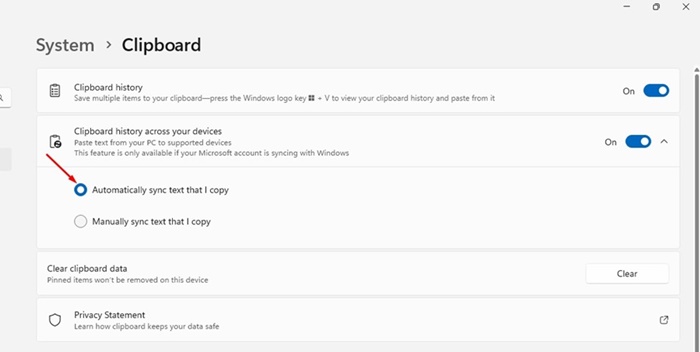
6. From the drop-down menu, select Automatically sync text that I copy or Manually sync text that I copy. It’s recommended to select the automatic sync option.
Enable Clipboard Syncing in Windows 11 with Local Group Policy Editor
If you are unable to enable the clipboard syncing from the Windows 11 Settings app, you can use the Local Group Policy Editor to enable the feature. Here’s what you need to do.
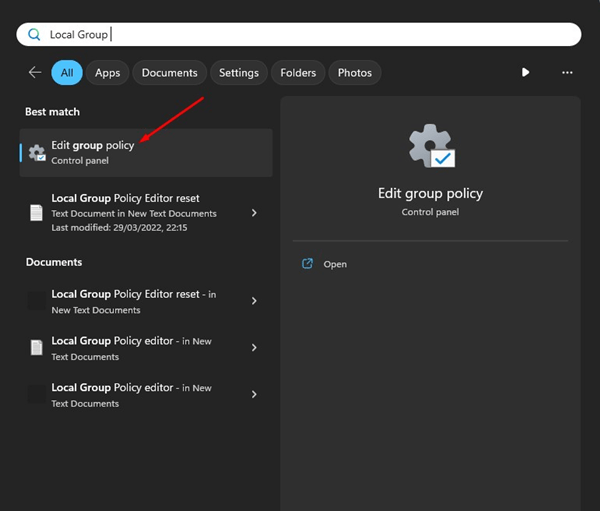
1. Type in Local Group Policy Editor on the Windows 11 Search. Open the Edit Group Policy app from the Best Match results.
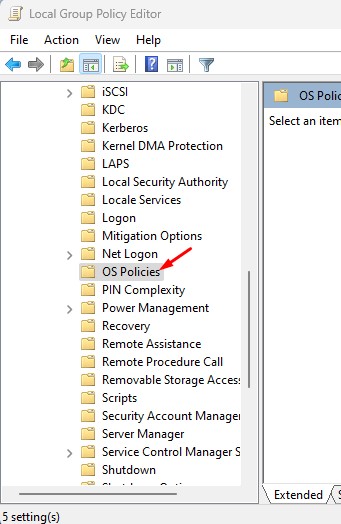
2. When the Local Group Policy Editor opens, navigate to this path:
Computer Configuration > Administrative Templates > System > OS Policies
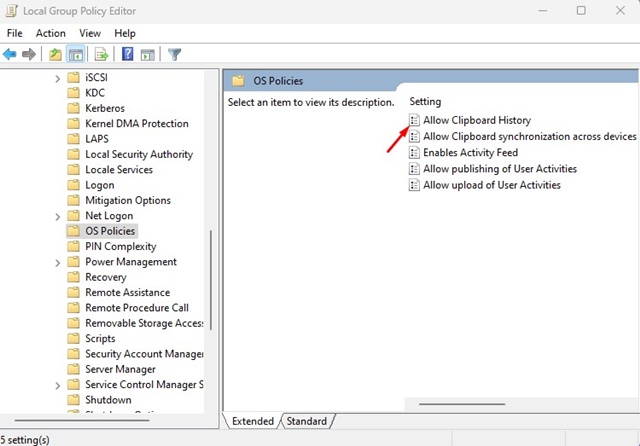
3. Find and double-click on the Allow Clipboard History Policy.
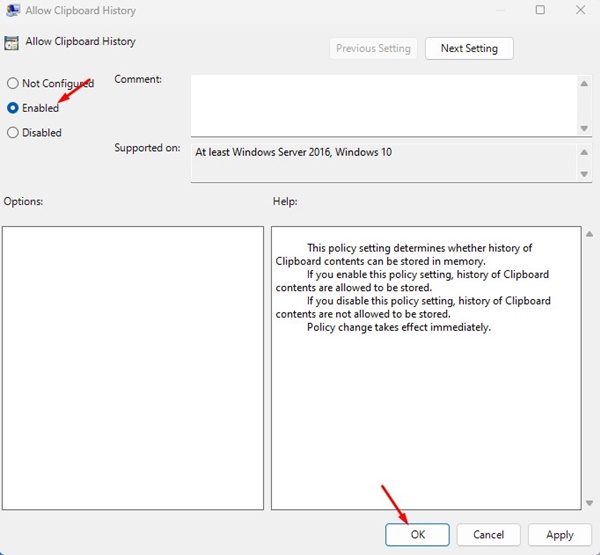
4. Select Enabled. Once selected, click on Apply and then OK.
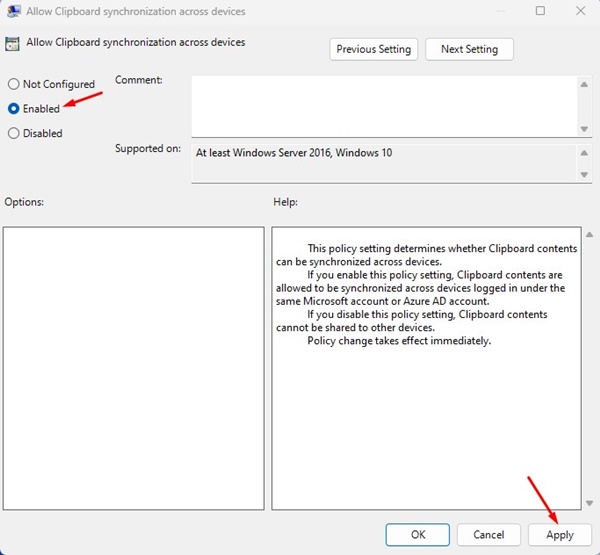
5. Double-click on the Allow Clipboard Synchronization across devices policy.
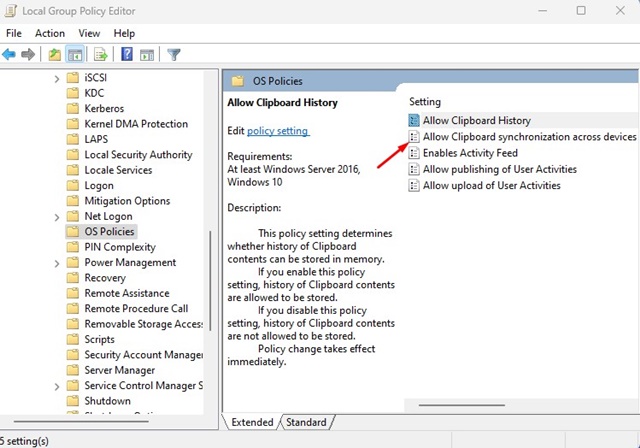
6. On the window that appears, select Enabled. Once selected, click on Apply and then OK.
Enable Clipboard Syncing in Windows 11 with Registry Editor
Like the Local Group Policy Editor, you can also use the Registry Editor to enable the clipboard sync feature of Windows 11. Here’s what you need to do.
1. Type in Registry Editor in the Windows 11 search. Next, open the Registry Editor app from the list of best-match results.
![]()
2. Navigate to this path:
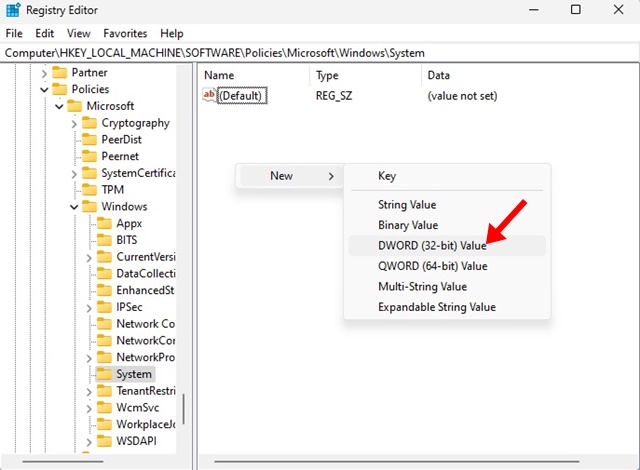
HKEY_LOCAL_MACHINE\SOFTWARE\Policies\Microsoft\Windows\System

3. Right-click on the System folder and select New > DWORD (32-bit) Value.
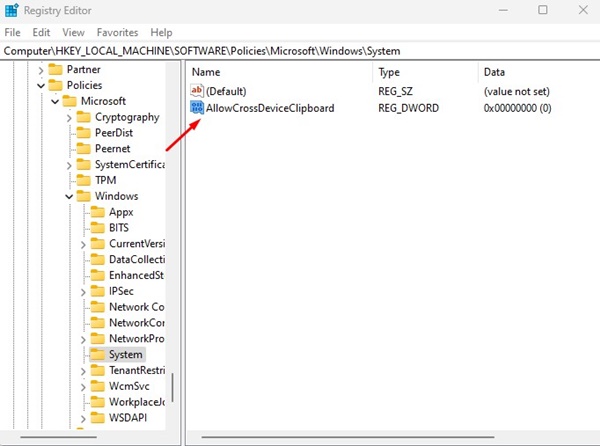
4. Name the new DWORD Value’s name to AllowCrossDeviceClipboard.
5. Double-click the AllowCrossDeviceClipboard and type 1 in the Value Data field. Once done, click on OK and close the Registry Editor.
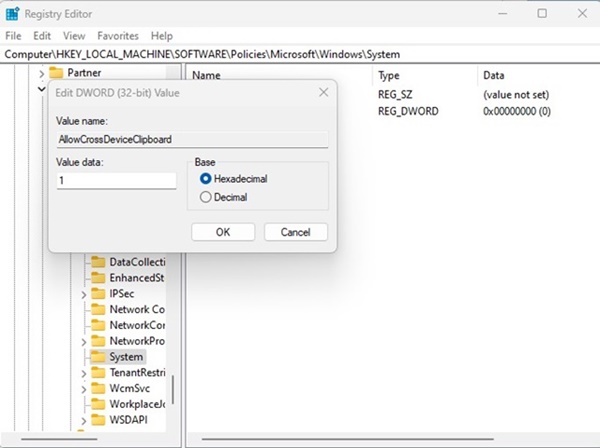
Make sure to restart your Windows 11 PC after making the changes.
How to Enable Clipboard Sync Between Windows & Android/iPhone
Once you enable the clipboard syncing on Windows, you must enable the same feature on your Android/iPhone. Here’s how you can find the synced clipboard history of Windows 11 on Android or iPhone.
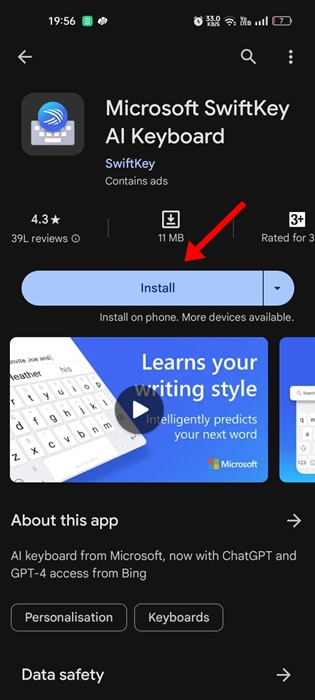
1. Download & install the Microsoft SwiftKey AI Keyboard on your Android or iPhone.
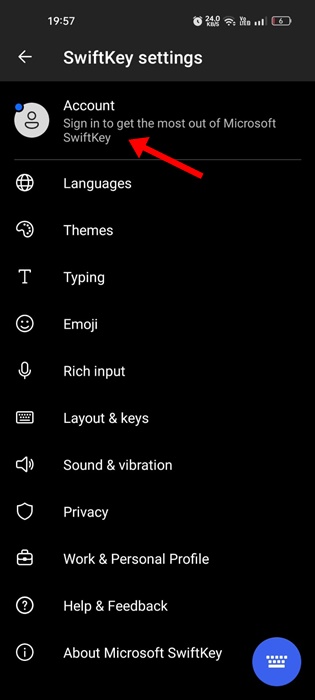
2. Tap on the Account and sign in with the same Microsoft Account you use on your Windows Machine.
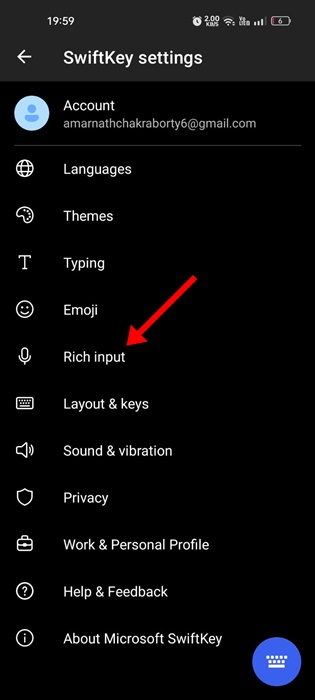
3. Once signed in, open SwiftKey settings and tap on Rich Input.
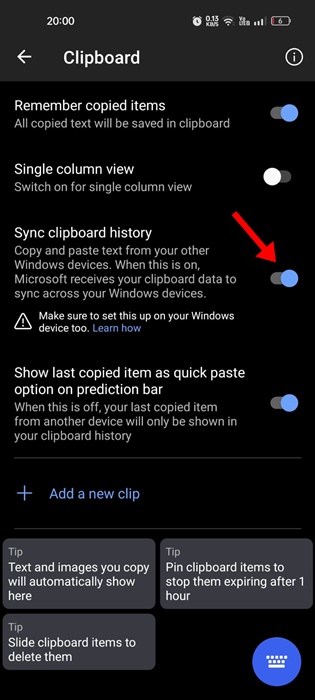
4. Tap Clipboard.

5. Enable the toggle for Sync Clipboard history.
This guide is about enabling clipboard syncing on Windows 11 PCs. Let us know if you need more help syncing your clipboard history between PC and mobile.