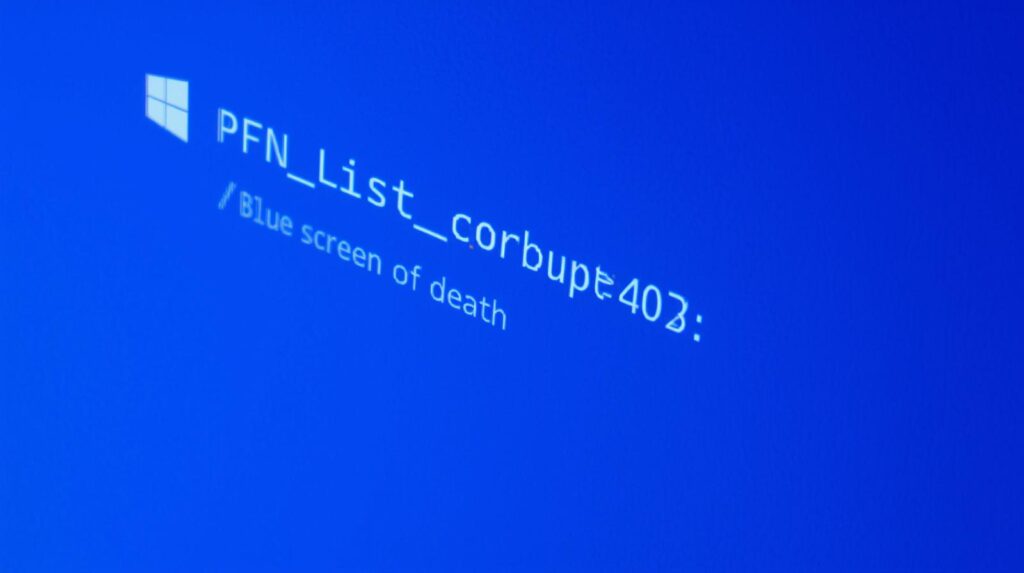
Fix PFN List Corrupt BSOD Error on Windows 11 Fast
Facing the PFN List Corrupt BSOD Error on Windows 11? Discover quick, proven fixes to stop blue screens and restore your PC’s performance fast!

Table of Contents
How to Fix PFN List Corrupt BSOD Error on Windows 11
The PFN List Corrupt error on Windows 11 can be confusing at first glance. Yet, understanding its cause is the first step toward resolving it. The PFN (Page Frame Number) list acts like an internal memory map that helps Windows keep track of physical memory locations. When this list becomes corrupted, your computer may fail to handle RAM correctly often resulting in the dreaded Blue Screen of Death (BSOD).
Corruption in the PFN list can occur for several reasons: damaged system files, malfunctioning hardware, outdated drivers, or even failing hard drives. Fortunately, fixing it doesn’t always require deep technical expertise. Let’s walk through a few effective solutions you can try.
1. Keep Windows 11 Updated
It might sound simple, but regularly updating Windows can prevent and fix numerous system errors. Microsoft frequently releases patches that improve security, fix bugs, and enhance system stability.
To update:
- Open Settings → Windows Update.
- Click Check for Updates on the right side of the screen.
- If any updates are available, install them and restart your PC. An outdated OS can often be the silent cause of many BSOD issues.
2. Uninstall Recently Added Security Software
Sometimes, third-party antivirus or security tools can interfere with Windows processes, triggering PFN List Corrupt errors. Have you recently installed any new antivirus or security software? If so, uninstalling it might solve the problem.
Here’s how:
- Open Control Panel → Programs and Features.
- Locate and uninstall any recently added security programs.
- Restart your PC and observe whether the error persists.
This step helps isolate software conflicts that may corrupt memory management routines.
3. Update Device Drivers
Outdated or incompatible drivers are one of the most common culprits behind BSODs. Every piece of hardware in your computer relies on drivers to communicate with the operating system—when those drivers misbehave, crashes happen.
Follow these steps:
- Type Device Manager in the Windows Search bar and open it.
- Expand each category by clicking the arrow next to the device name.
- Right-click on any device that may seem problematic and choose Update driver.
- Select Search automatically for drivers.
- After the update, restart your PC. Keeping your drivers current ensures smoother communication between hardware and Windows.
4. Run the SFC and DISM Utilities
If your system files are corrupted, Windows will inevitably encounter errors. The System File Checker (SFC) and Deployment Image Servicing and Management (DISM) tools are built to fix exactly that.
To use them:
- Type CMD in the search bar, right-click Command Prompt, and choose Run as administrator.
- Type the following command and press Enter:
sfc /scannowThis scans for and repairs damaged system files. - If SFC fails to complete or returns an error, follow up with this command:
DISM /Online /Cleanup-Image /RestoreHealth - Once both processes finish, restart your computer. These utilities often resolve deeper corruption issues that might be causing PFN errors.
5. Check for Memory Problems
Bad RAM is another frequent source of PFN List Corrupt errors. Windows includes a built-in tool Windows Memory Diagnostic to identify such issues.
To use it:
- Type Windows Memory Diagnostic into the search bar and open it.
- Select Restart now and check for problems (recommended).
- Your PC will reboot and automatically test your memory modules.
If any issues are detected, consider cleaning your RAM sticks or reseating them. In severe cases, you may need to replace faulty modules.
6. Run Check Disk to Detect Drive Errors
Sometimes, it’s not the memory but the hard drive that’s to blame. Bad sectors or corrupted file structures can lead to BSODs. Luckily, the Check Disk Utility (CHKDSK) can detect and repair these errors.
Here’s how to run it:
- Open File Explorer → right-click the drive where Windows is installed → Properties.
- Switch to the Tools tab.
- Under Error Checking, click Check, then Scan Drive.
- The tool will analyze your drive for errors and fix them automatically if possible. This process can take several minutes, depending on the size and condition of your drive.
7. Use the Hidden BSOD Troubleshooter
Windows 11 includes a lesser-known BSOD troubleshooter accessible through the Get Help app. Although it’s not a guaranteed fix, it can guide you through possible causes and recommended actions.
To launch it:
- Open the Get Help app from the Start Menu.
- In the search box, type Troubleshoot BSOD error.
- Follow the on-screen instructions.
This assistant can point you toward specific updates or settings you might have overlooked.
8. Disable RAM Overclocking
If your RAM is overclocked especially using an XMP profile your system may become unstable. Overclocking pushes memory beyond its default specifications, sometimes leading to PFN List Corrupt BSODs.
To fix this:
- Enter your computer’s BIOS/UEFI settings during startup.
- Locate the XMP Profile option and disable it.
- Save changes and restart your PC.
If you’ve used software utilities for overclocking or undervolting, revert those changes to default. Returning to stock settings often restores system stability.
Final Thoughts
The PFN List Corrupt BSOD might seem intimidating, but it usually signals an issue with memory management or file corruption—both of which can be fixed through careful troubleshooting. By updating your system, scanning for file errors, and checking your hardware, you can often resolve the issue without professional help.
Still facing problems? You might be dealing with failing hardware. In such cases, contacting a technician or replacing components like RAM or hard drives could be the next best step.
With patience and the right tools, you can get your Windows 11 system running smoothly again—no more blue screens in sight! 💻💙