Learn how to change account lockout threshold in Windows 11 to enhance security and prevent unauthorized access. Step-by-step guide included.
By default, Windows 11 locks your account if someone enters the wrong password or PIN 10 times consecutively. However, the good thing is that you can easily modify the account lockout threshold to increase or decrease the failed sign-in attempts.
You can set a value ranging from 1 through 999 failed sign-in attempts or set the value to ‘0’ to remove the account lockout threshold.
1. Change Account Lockout Threshold via Group Policy Editor
This method uses the Local Group Policy Editor to change the account lockout threshold.

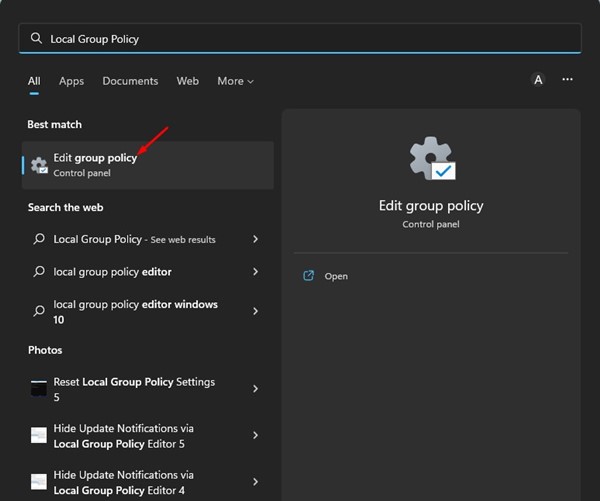
1. Click the Windows 11 search and type in Local Group Policy Editor.
2. Navigate to the following path:
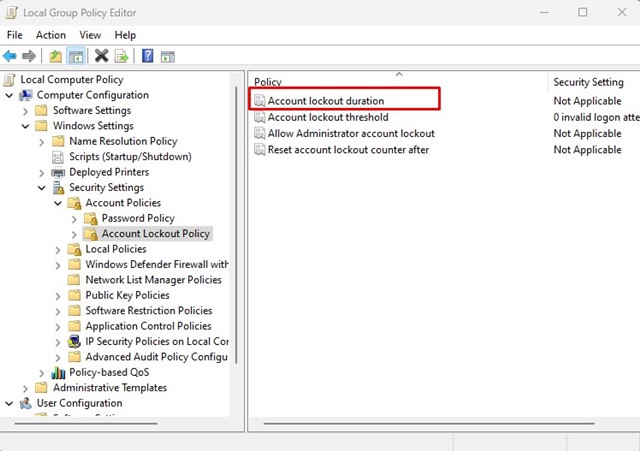
Computer Configuration > Windows Settings > Security Settings > Account Policies > Account Lockout Policy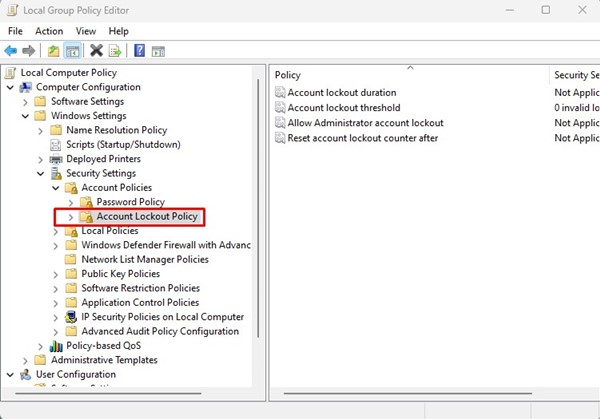
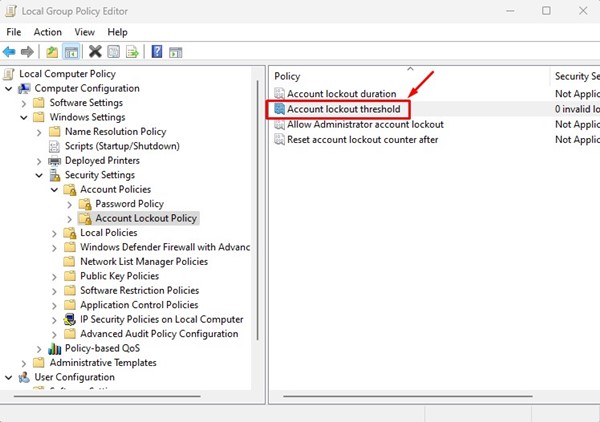
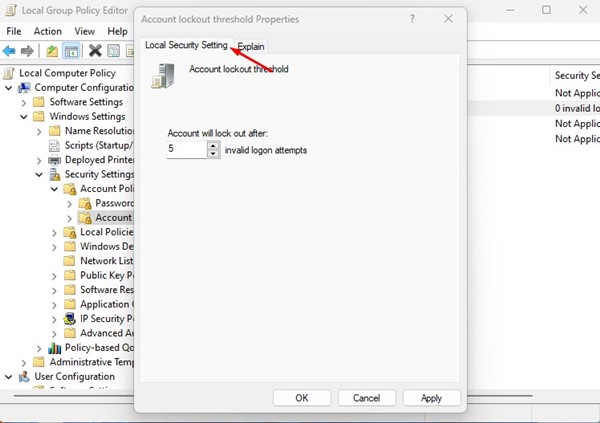
3. Select the Account Lockout policy on the left. On the right, double-click on the Account Lockout threshold.
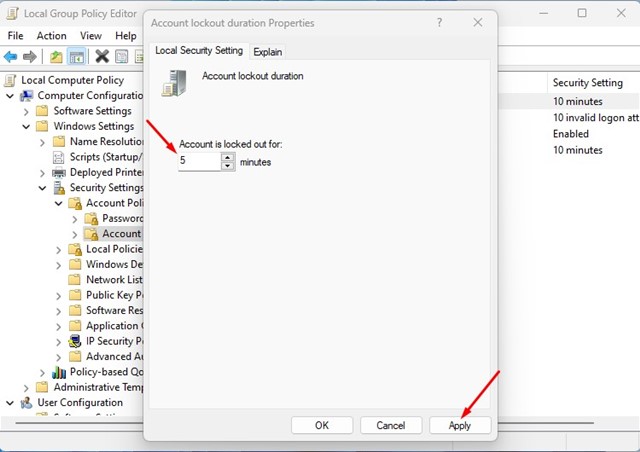
4. On the Account Lockout Threshold Properties, switch to the Local Security Setting tab.
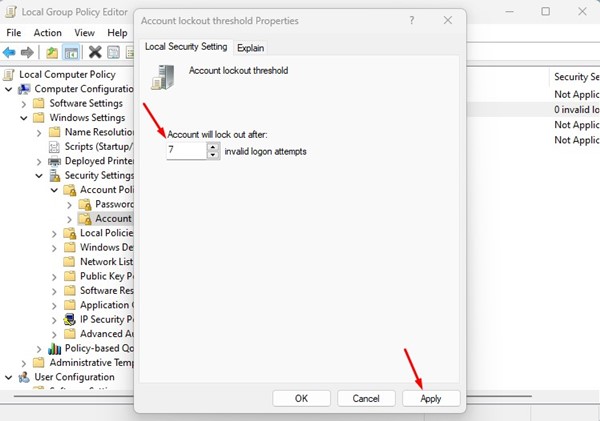
5. On the Account will lock out after field, set the number of invalid logon attempts. Once done, click Apply and then Ok.
2. Change Account Lockout Threshold via Command Prompt
This method will use the Command Prompt utility to change the Account Lockout threshold.
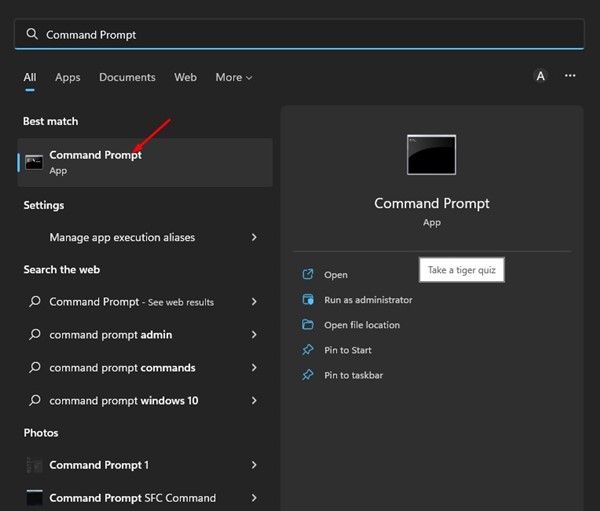
1. Click on the Windows 11 search and type in Command Prompt. Next, open the Command Prompt utility from the list of matching results.
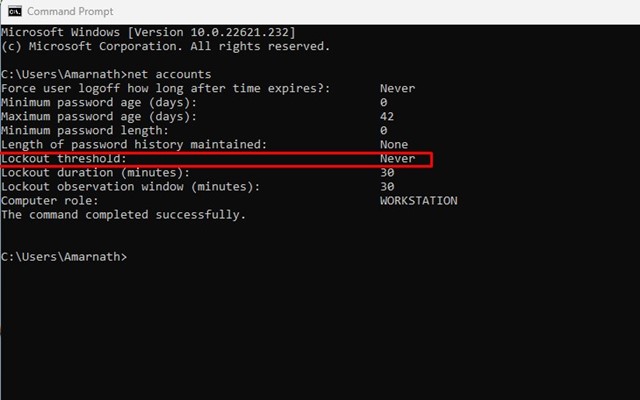
2. Execute the command:
net accounts
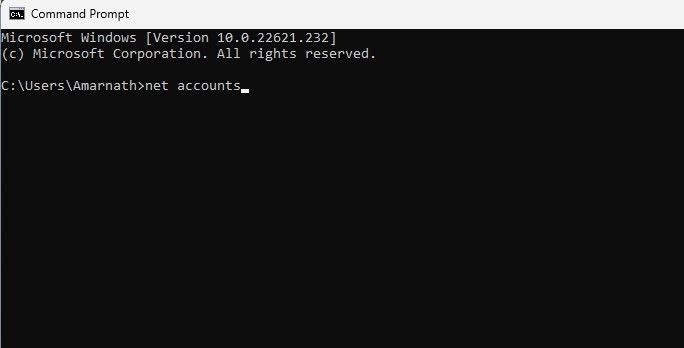
3. This will list many details. You need to check the Lockout threshold value.
4. To change the account lockout threshold, enter the following command and hit the Enter button.
net accounts /lockoutthreshold: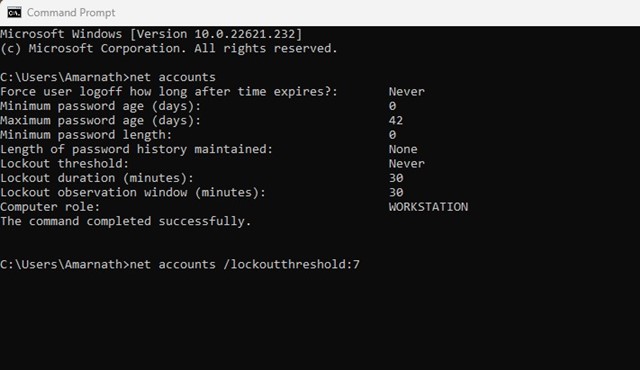
Important: Make sure to replace the with the number you want to set. You can set the number between 0 and 999. 0 means the account will never be locked.
How to Change Account Lockout Duration?
The Account lockout duration settings determine the minutes a locked-out account remains locked out before automatically becoming unlocked. The account lockout duration is set to 30 minutes by default, but you can easily change it by following these steps.
1. Click on Windows 11 search and type in Local Group Policy. Open the Edit Group Policy app from the list.
2. Navigate to this path:
Computer Configuration > Windows Settings > Security Settings > Account Policies > Account Lockout Policy
3. Double-click on the Account lockout duration policy.
4. Set the time (in minutes) for the account lockout and click Apply.
Also read: How to Disable Login After Sleep in Windows 11
These are the best ways to change the account lockout threshold in Windows 11 computers. You shouldn’t change the Account Lockout Threshold for security reasons, but if you have personal reasons, you can change it by following these two methods.


