How to Check WiFi Signal Strength on Windows 11 (Ultimate Step-by-Step Guide)
Learn how to check WiFi signal strength on Windows 11 using the Taskbar, Settings, Control Panel, and PowerShell. Improve your connection today!

Table of Contents
How to Check WiFi Signal Strength on Windows 11 (Ultimate Guide)
Having a fast and stable internet connection isn’t just about your WiFi plan it also depends on the strength of your wireless signal. A weak WiFi signal can cause slow loading times, buffering, and frequent disconnections. So, how can you check WiFi signal strength on Windows 11? Let’s explore several simple and effective methods.
1. Check WiFi Signal Strength from the Taskbar
The quickest way to see your WiFi signal quality is through the Windows 11 Taskbar it takes just a few clicks.
- Look at the bottom-right corner of your screen and click the Network icon.

- Next, click the arrow icon beside the list of WiFi networks.
- You’ll now see a list of available WiFi connections. The number of bars next to your connected network represents the signal strength.
👉 Tip:
- Four bars = Excellent signal
- Two or fewer bars = Weak connection
This method is ideal for a fast visual check when your internet feels slower than usual.
2. View WiFi Signal Strength via Settings
Windows 11’s redesigned Settings app gives you more details about your connection, including signal strength and network properties.
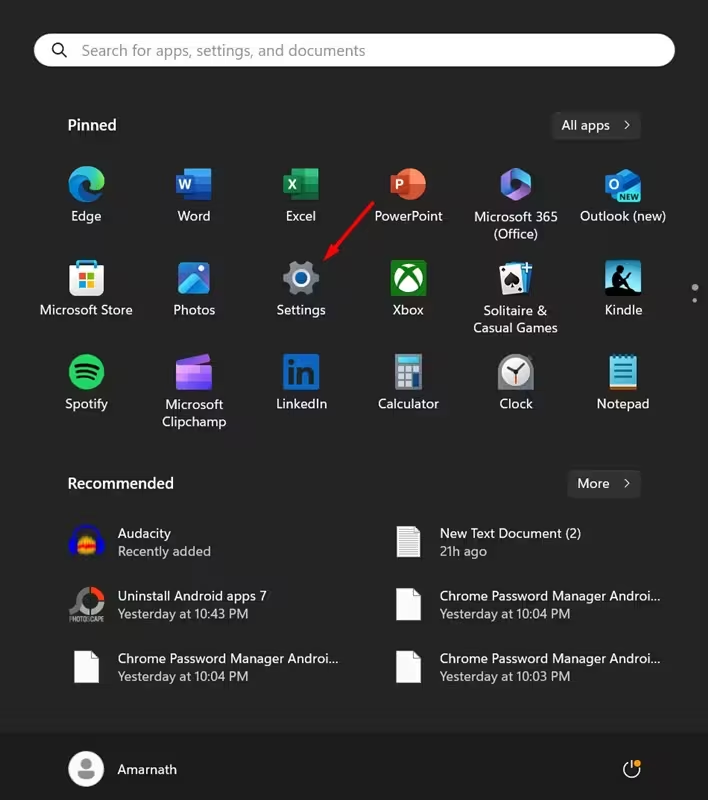
- Click the Start button and select Settings.

- Navigate to Network & Internet → Wi-Fi.
- Here, you’ll see the signal bars next to your connected WiFi network.
If your network shows fewer than four bars, your device is receiving a weak WiFi signal. Consider moving closer to the router or reducing interference from walls and electronic devices.
3. Check WiFi Signal Strength Using Control Panel
Prefer the traditional Windows interface? You can still check your connection quality using the Control Panel.
- Open Control Panel from the Windows Search bar.
- Go to Network and Sharing Center.
- Under the “Connections” section, you’ll see your active WiFi network.
- Click on it to view your WiFi Status the Signal Quality will be displayed as bars.
This method is particularly helpful for users who are more comfortable with the classic Windows layout.
4. Find WiFi Signal Strength via PowerShell
For users who love a bit of technical control, PowerShell offers a precise way to measure WiFi strength in percentages.
- Type PowerShell in the Windows search bar.
- Right-click Windows PowerShell and select Run as Administrator.
- Enter the following command and press Enter:
(netsh wlan show interfaces) -Match '^\s+Signal' -Replace '^\s+Signal\s+:\s+',''
You’ll get a percentage between 0 and 100.
- 100% = Excellent signal
- Below 50% = Weak signal
This gives a more accurate representation of your WiFi’s quality compared to visual bars.
Checking your WiFi signal strength on Windows 11 can help you troubleshoot slow or unstable connections. Whether you prefer quick visual cues from the Taskbar or detailed results through PowerShell, these methods cover every type of user from beginners to power users
If your WiFi strength is weak, try:
- Moving your laptop closer to the router
- Reducing interference (microwaves, Bluetooth devices)
- Upgrading your router or WiFi adapter
A strong WiFi signal means a smoother, faster, and more reliable browsing experience.
Read Also : Fix PFN List Corrupt BSOD Error on Windows 11 Fast
Frequently Asked Questions (FAQ)
Q1: How can I check WiFi signal strength on Windows 11 from the taskbar?
A1: Click on the network icon on your taskbar, then check the WiFi symbol next to your connected network. The number of filled bars indicates your signal strength — more bars mean a stronger signal.
Q2: Can I view my WiFi signal strength using Command Prompt in Windows 11?
A2: Yes. Open Command Prompt and type netsh wlan show interfaces, then press Enter. Look for the “Signal” field; it displays the WiFi signal strength as a percentage.
Q3: Is there a built-in tool in Windows 11 to monitor WiFi performance?
A3: Yes. You can use the Settings app → Network & Internet → Wi-Fi → Hardware properties to view detailed information about your WiFi connection, including signal strength.
Q4: What WiFi signal strength is considered good on Windows 11?
A4: A signal strength of 70% or higher (around -65 dBm or better) is generally considered strong and suitable for stable browsing and streaming.
Q5: Are there third-party apps to check WiFi signal strength on Windows 11?
A5: Absolutely. Tools like NetSpot, Acrylic WiFi, and WiFi Analyzer provide detailed insights into signal strength, interference, and network performance.


