Microsoft offers many repair tools to troubleshoot various issues. Be it a system lag, crash, or BSOD error, there are various ways to repair a Windows 11 PC. Below, we have shared some of the best ways to resolve Windows 11 issues.
Create a Restore Point First
Before you repair Windows 11, it’s recommended that you create a restore point first. This will serve as a good backup option and can be used to recover all your PC settings. If anything goes wrong during the repair, you can roll back your PC to this restore point.
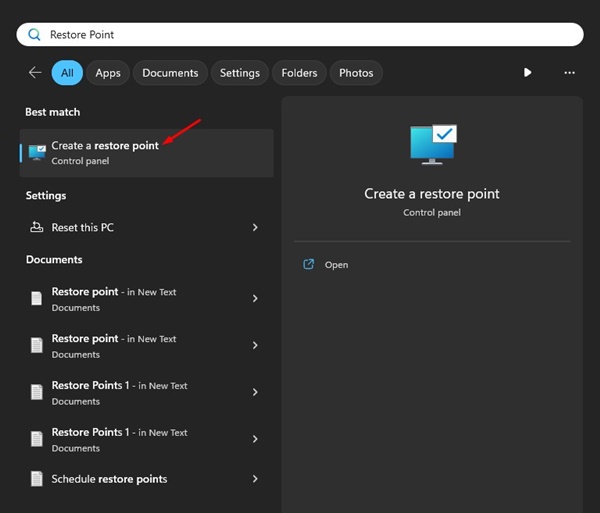
1. Open the Create a restore point option from the Windows search.
2. Select the drive where you want to store the restore points. Once selected, click on Configure.
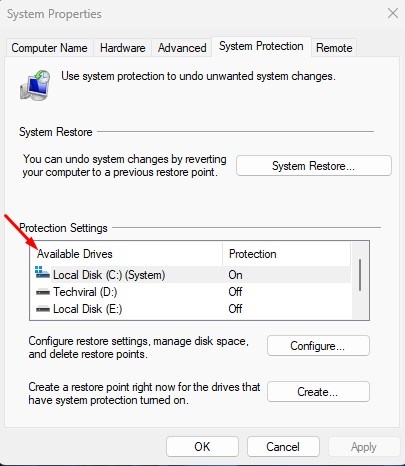
3. Enable the Turn on system protection on the dialog box that appears. At the bottom, choose the amount of disk space you want to allow for the restore point.
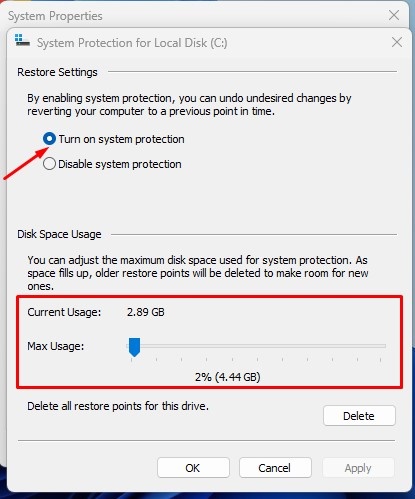
4. Click on the Apply button and then on OK.
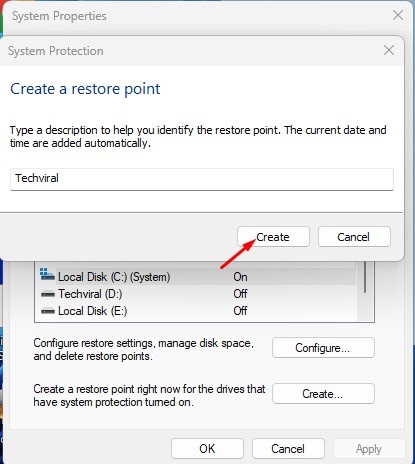
5. Click the Create button and assign a name to the Restore point.
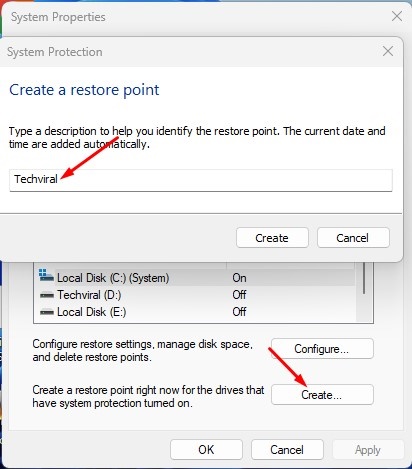
6. Once done, click on the Create button.
1. Repair Windows 11 Using Troubleshooters
Windows 11 offers troubleshooters for resolving various problems. Depending on your problem, you need to run the troubleshooter for it. For example, if you have network-related issues on Windows 11, you must run the Network and Internet Troubleshooter.
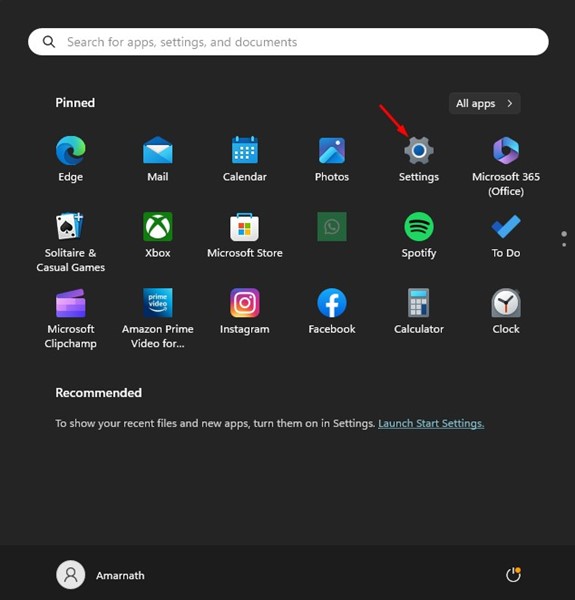
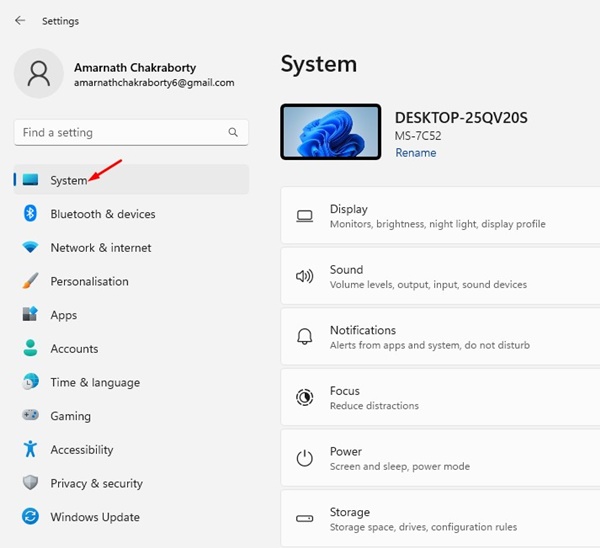
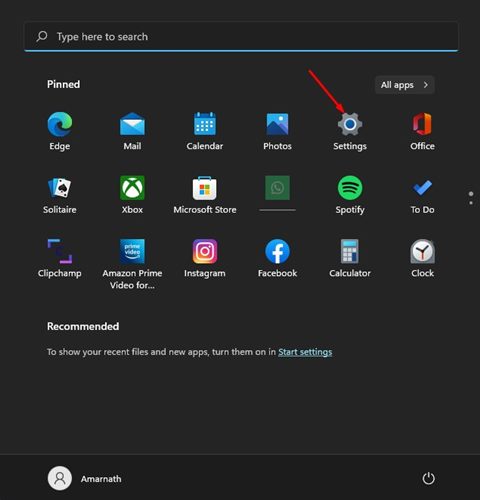
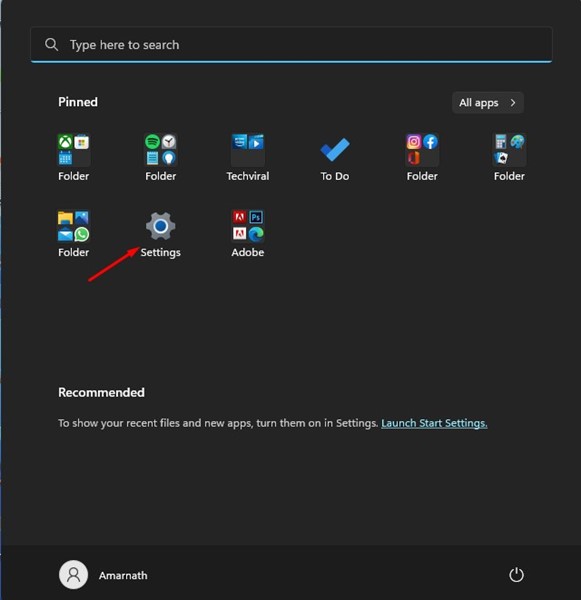
1. Click on the Windows 11 Start button and select Settings.
2. Switch to the System tab.
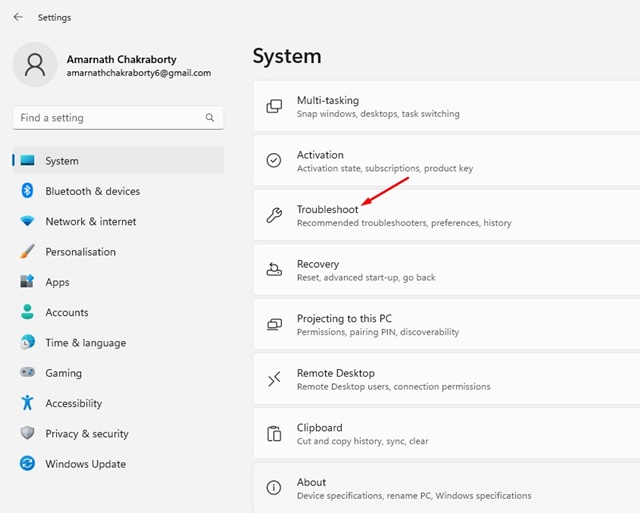
3. On the right side, click on Troubleshoot.
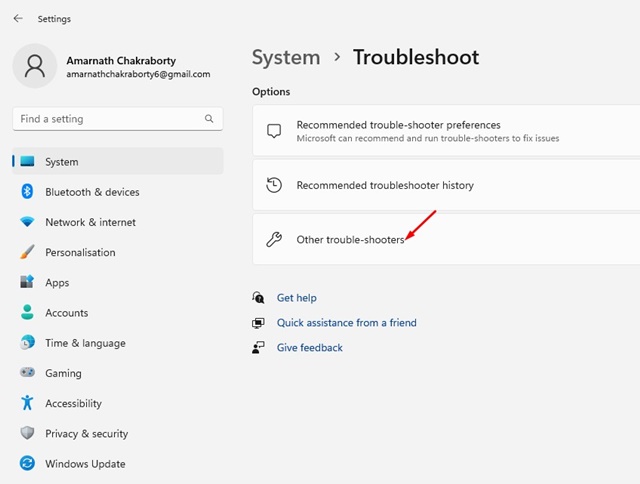
4. Click on Other trouble-shooters.
5. You will see all the troubleshooters available on your PC. To run a troubleshooter, click the RUN button beside the item name.
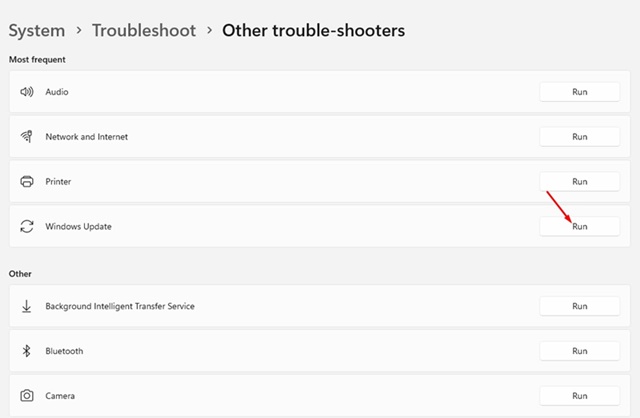
You can also try running all troubleshooters one by one until the issue is resolved on your Windows 11.
2. Repair Windows 11 Using the Command Prompt
Command Prompt is a great command-line utility of the Windows operating system. It can be used to accomplish many tasks. One of the biggest advantages of CMD is that it can also repair corrupted Windows 11 files.
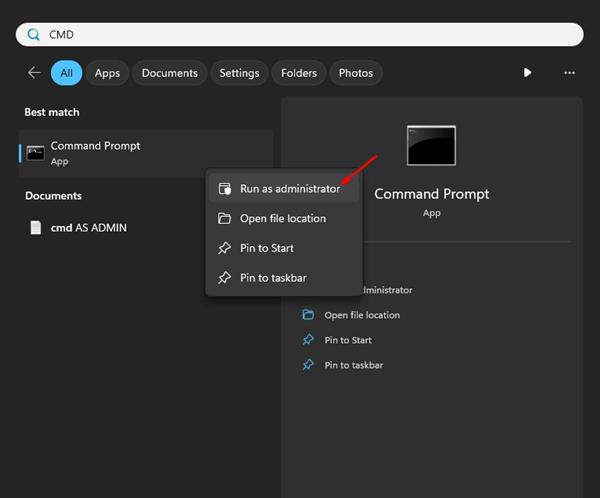
1. Type Command Prompt in the Windows 11 Search. Right-click on the Command Prompt and select Run as administrator.
2. When the command prompt opens, run the disk check utility. Disk check utility will find and fix hard disk related problems:
chkdsk /r
3. After executing the command, you will be asked to restart your PC. Restart and run CMD with admin rights again.
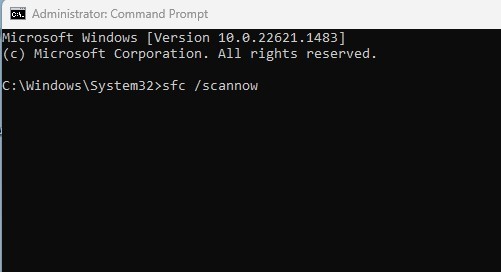
4. Execute the System File Checker (SFC) Command. This command will find corrupted system files and replace them with fresh versions.
sfc /scannow
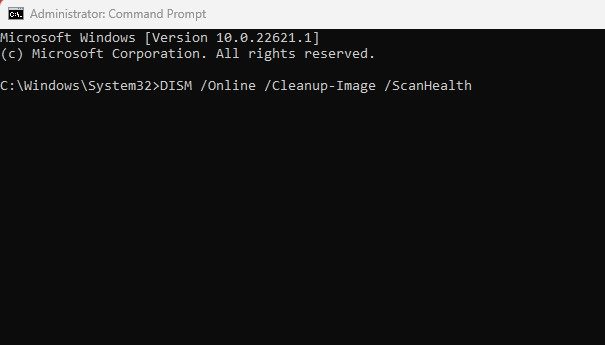
5. If the SFC Command returns with an error, you must run the DISM Command. This command diagnoses & fixes system image files. Execute these two commands one by one.
Dism /Online /Cleanup-Image /ScanHealth

Dism /Online /Cleanup-Image /RestoreHealth
After executing all these commands, restart your Windows 11 computer. This should repair Windows 11.
3. Repair Windows 11 Using Windows Updates
Like every other Windows version, Microsoft often releases bug-filled updates to Windows 11. So, if you are experiencing problems like system lag, crashes, etc., after installing an update, you can roll back to the previous version or uninstall the latest update.
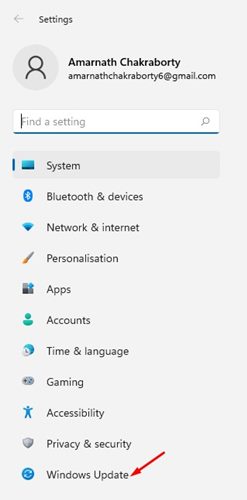
1. Open the Settings app on your Windows 11.
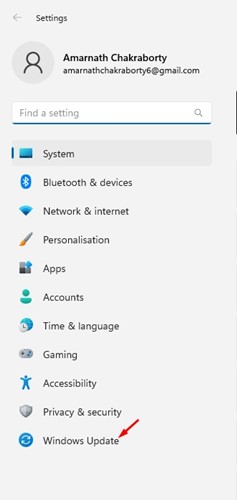
2. Switch to the Windows Update tab.
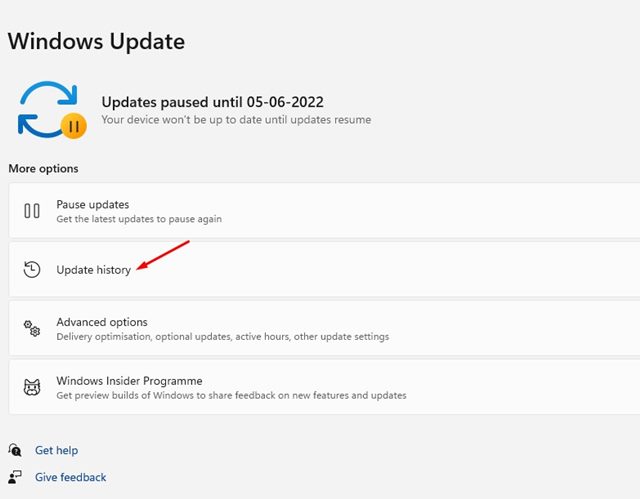
3. On the right side, click the Update history.
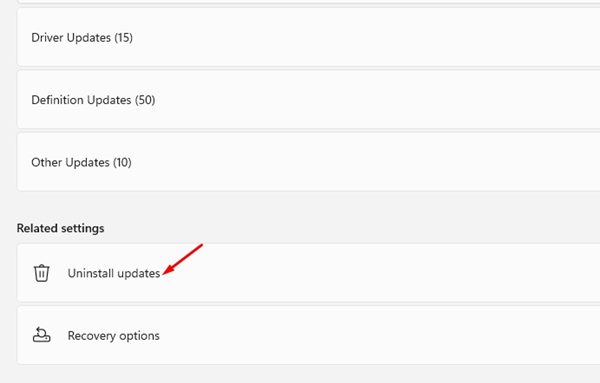
4. You will see all installed updates. Choose the Uninstall updates option.
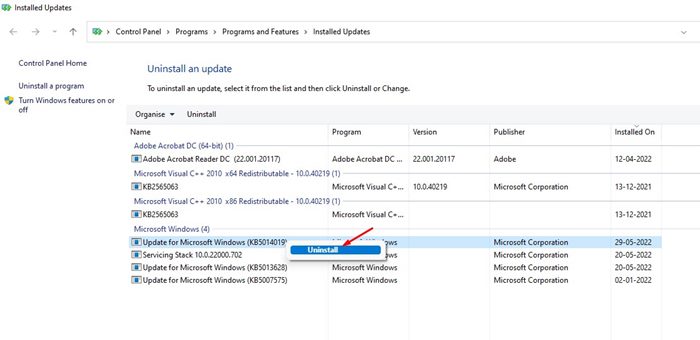
5. Right-click on the update that has been recently installed and select Uninstall.
4. Repair Windows 11 Using the System Restore
Remember the restore point that you have created? You don’t need to use that one. But you can use an older restore point to roll back your PC settings. Restore points basically let you roll back Windows 11 to the date the restore point was created.
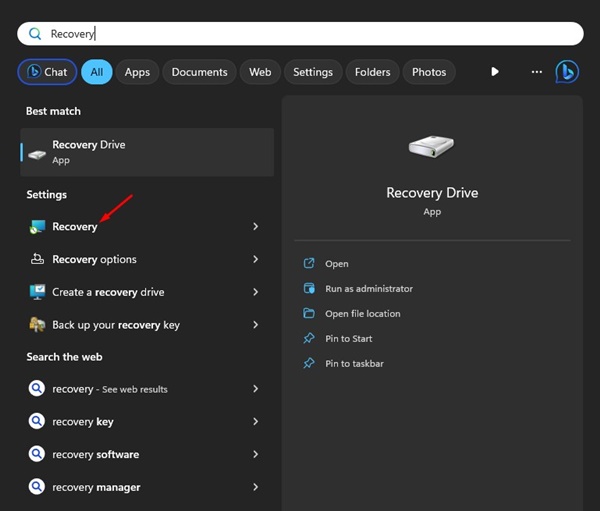
1. Open the Recovery app from the Windows Search.
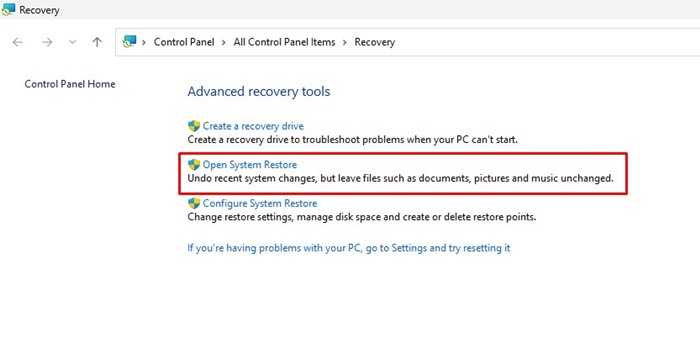
2. Click on Open System Restore.
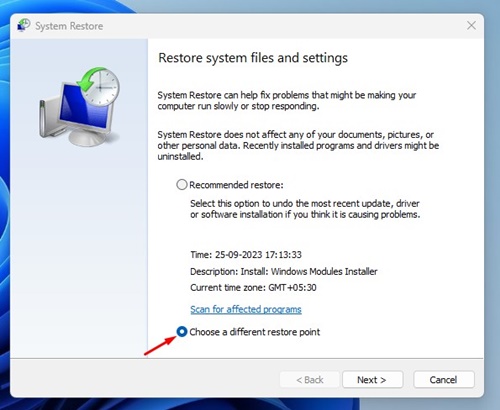
3. Select Choose a different restore point and click Next.
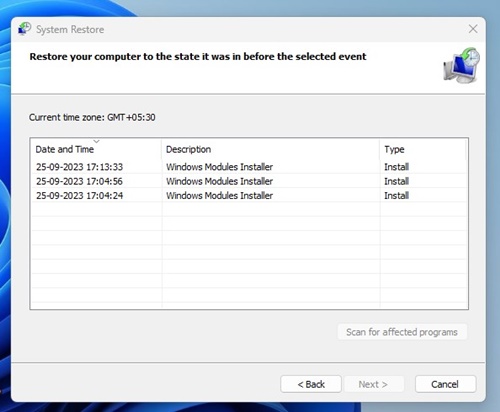
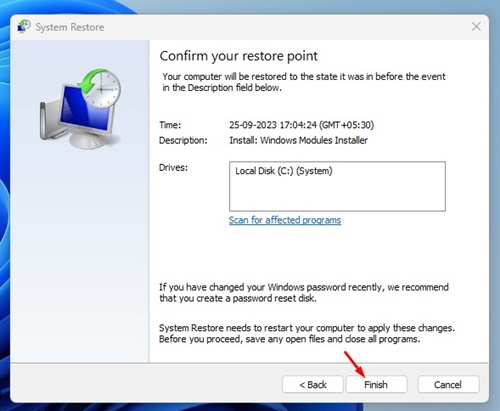
4. Select the Restore point and click the Next button.
5. On the confirmation dialog, click the Finish button.
5. Repair Windows 11 Drive Errors By Disk Check Utility
On Windows 11, you get a repair tool that finds and fixes problems with your hard drive. Here’s how you can repair drive errors on Windows 11 with the Disk Check Utility.
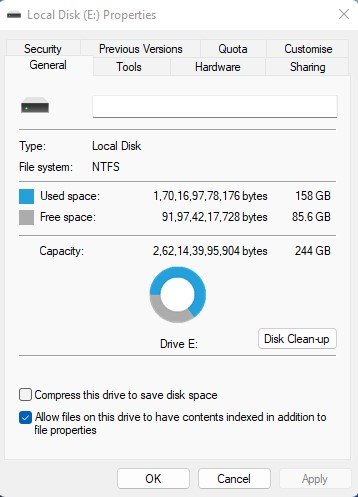
1. Launch the File Explorer on Windows 11. Right-click on the system installation drive and select Properties.

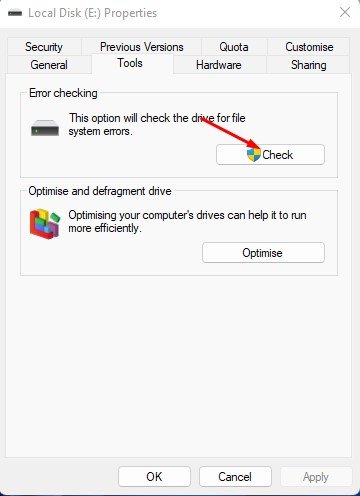
2. On the Local Disk Properties, switch to the Tools.
3. Click the Check button in the Error Checking section.
4. On the Error Checking prompt, click Scan Drive.
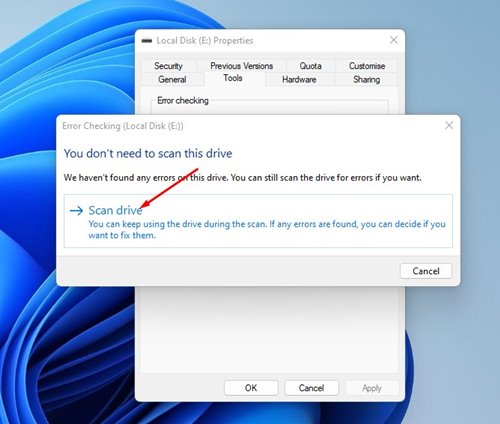
The Disk Check utility will fix all problems with your selected drive.
6. Repair Windows 11 by running the Memory Diagnostic Tool
The Memory Diagnostic tool is part of Windows 11 and can resolve various BSOD errors. Basically, the tool finds and fixes RAM-related problems. So, if you constantly get BSOD errors on Windows 11, you can use the Memory Diagnostic tool to repair it.
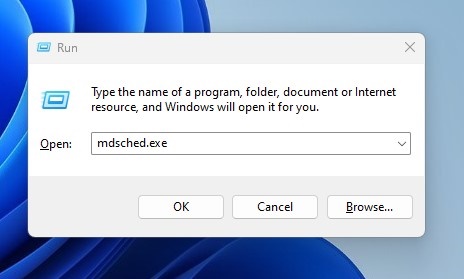
1. Press the Windows Key + R button on your keyboard. On the RUN dialog box, type mdsched.exe and press Enter.
2. On the Windows Memory Diagnostic prompt, click Restart Now and check for problems (Recommended).
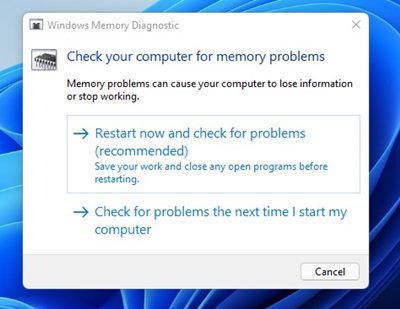
Your Windows 11 PC will restart to check for Memory Problems. Be patient while the tool finds and fixes all problems related to Memory on your PC.
7. Repair Windows 11 Using the Windows Recovery Environment
Windows Recovery Environment, or WinRE, is a simplified version of Windows installed with a regular Windows operating system. You can access WinRE to access various recovery tools when your PC fails to boot.
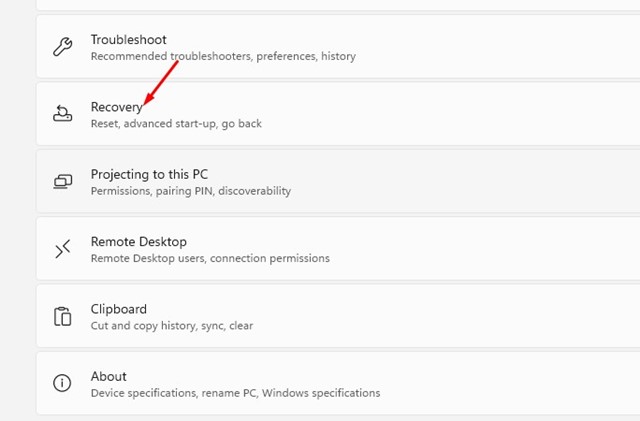
1. Open the Settings app and navigate to the System > Recovery.
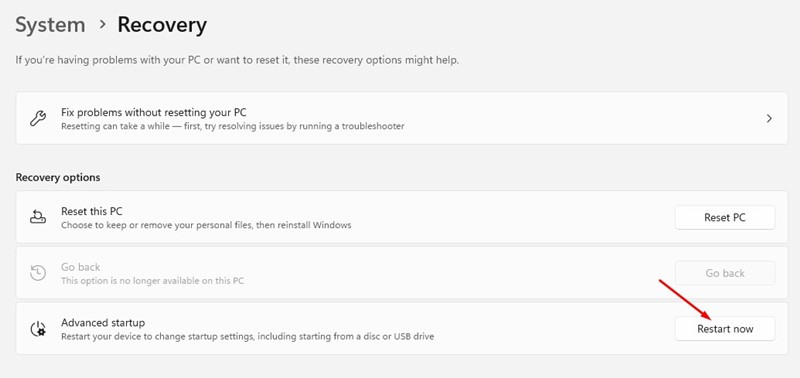
2. Click Restart Now beside Advanced Startup.
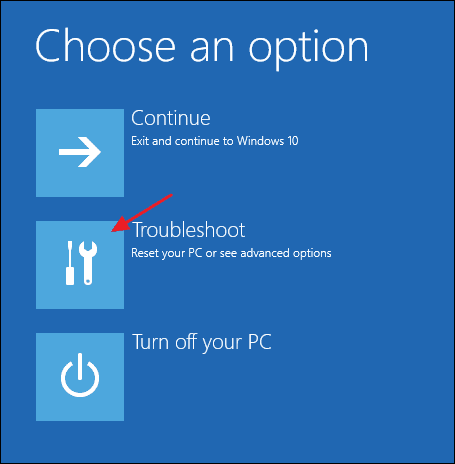
3. Your PC will restart and boot in WinRE. On the Choose an option screen, select Troubleshoot > Advanced Options.
4. On the Advanced options, select Startup Repair.
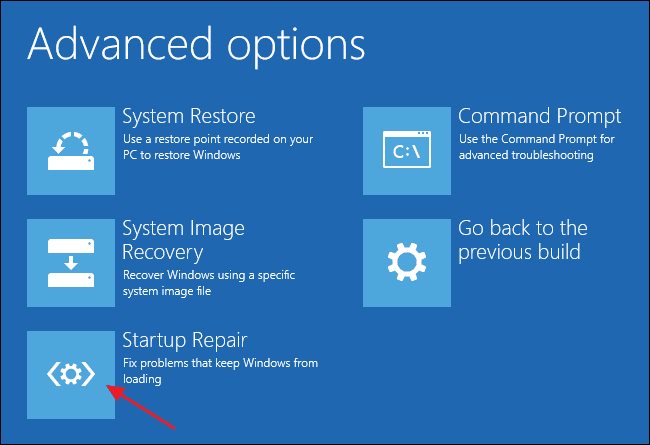
This will attempt to repair problems preventing a normal Windows 11 startup and resolve problems affecting the MBR and BCD stores.
8. Repair Windows 11 by Resetting Your PC
If nothing has worked for you to repair Windows 11, the ultimate option is to perform a factory reset. Factory reset will keep your files, but it will delete all PC settings. It’s also important to have a proper backup before you reset your PC.
1. Click on Windows 11 Search and select Settings.
2. Switch to the Windows Update tab.
3. Click on the Advanced options.
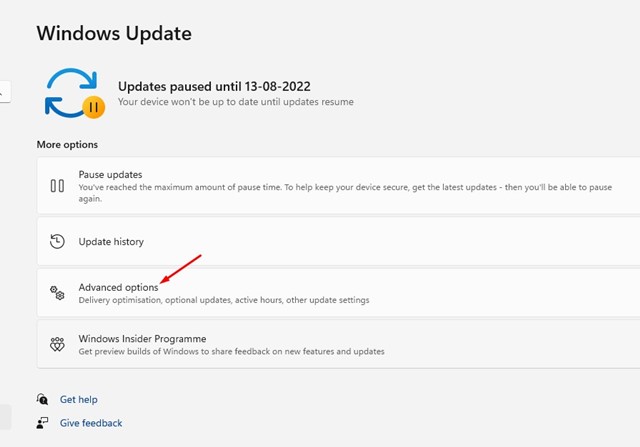
4. On the Advanced options, click Recovery.
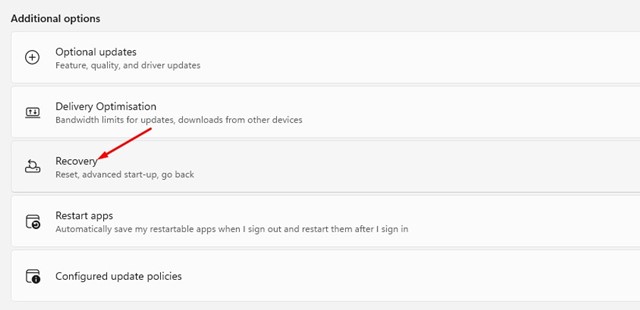
5. Click on the Reset PC in the Reset this PC section.

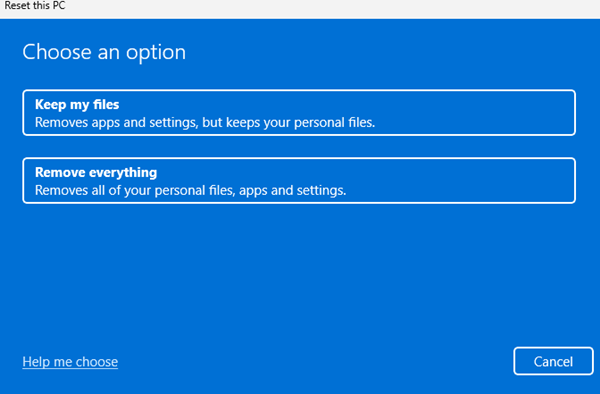
6. On the Reset this PC prompt, select Keep my files.
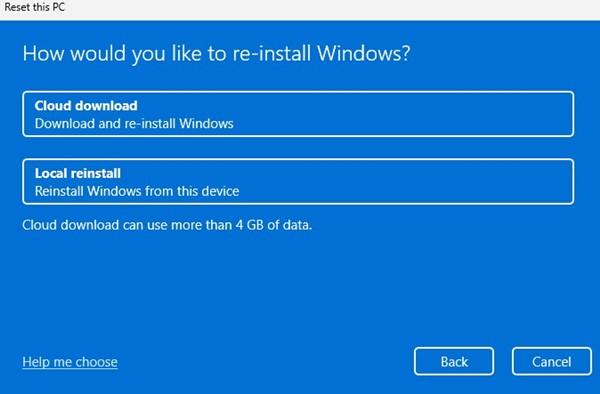
7. On how would you like to re-install Windows? Prompt, select Cloud Download.
8. On the next screen, click on Reset.
These are some of the best ways to repair Windows 11. The methods we have shared will help you troubleshoot almost all Windows 11 problems. Let us know if you have any doubts about repairing a Windows 11 PC.