You’ve got most likely began an utility from the terminal sooner or later, however did you discover that it retains your terminal occupied till you shut the applying? That may be fairly annoying. Typically, although, it is helpful to launch purposes this manner—I clarify how I do it successfully.
Some folks use menus, others use launchers—I personally launch all purposes, like Firefox, from the terminal. This behavior goes again to my earliest days utilizing Linux (about 15 years in the past), after I did not know the right way to create shortcuts. Over time, I grew accustomed to launching purposes this manner, and since I all the time have a terminal window open, it simply is sensible. Plus, I am too lazy to arrange and keep a launcher configuration. With the terminal, I can fuzzy search my purposes like a launcher, however with the additional advantage of enhancing instructions earlier than launching them.

First, Perceive Nohup and the Background Operator
Once you open an utility from the terminal after which shut the terminal, the applying will typically shut too—which most likely is not what you need. On Linux, when one utility begins one other, it forks the method, so the unique utility turns into the dad or mum.
Once you kill the dad or mum course of, all of its youngster processes are additionally usually terminated. You possibly can attempt it your self: sort the next command in a terminal, look forward to it to begin, after which shut the terminal window.
firefoxTo maintain the kid processes operating after you shut the terminal, we’ll use a time-tested device known as nohup.
Nohup
The nohup command makes a course of ignore the hang-up sign (SIGHUP), permitting it to proceed operating even after the person logs out or the terminal session ends.
Now that now we have a solution to hold our course of operating after the terminal is closed, it is value noting that nohup will routinely write output to a nohup.out file within the present listing. Except you need these recordsdata scattered all through your file system, you will want to deal with this habits. You possibly can both discard all output or redirect it to a particular file for logging.
To disregard all output, merely redirect every little thing to /dev/null, which acts as a black gap for undesirable knowledge:
nohup firefox &>/dev/nullNow, when you shut the terminal, Firefox will hold operating. Nonetheless, this setup sends all logs to the void. Alternatively, you possibly can redirect output to a log file as an alternative:
nohup firefox &>/tmp/firefox.logNow, if there’s an issue with Firefox, you possibly can learn the log file.
Background Operator
Once you run nohup with Firefox, it takes over your command line, which suggests you possibly can’t run different instructions. This is not splendid if you wish to use the identical terminal for different issues. That is the place the background operator is available in.
The background operator is just an ampersand positioned on the finish of the command, permitting you to maintain utilizing the terminal whereas the applying runs. Give it a attempt:
firefox &For those who shut your terminal now, you will discover that it additionally closes the applying. It is because, whereas the background operator places your utility within the background, it nonetheless obeys the SIGHUP sign—so closing the terminal stops the method. That is why we use nohup as properly.
One helpful function of the background operator is you can carry a course of again to the foreground. After sending Firefox to the background, sort fg to carry it to the foreground once more.
Utilizing nohup with the Background Operator
By utilizing nohup with the background operator, your utility runs fully within the background, letting you retain working in your terminal and even shut it—your course of will proceed operating uninterrupted.
nohup firefox &>/tmp/firefox.log &
Use Mnemonic Aliases
A shell alias works like a nickname for a command. For example, you possibly can set the letter f to launch Firefox, so that you solely must sort f within the terminal to open it. If that is new to you, you must learn our submit on the right way to create shell aliases.
On the earth of shell customization, it is common to make use of mnemonic aliases—brief, memorable mixtures of letters that signify longer instructions. For instance, you may create Firefox shortcuts that launch the browser with particular arguments:
alias ffaa="firefox about:about"
alias ffac="firefox about:config"
alias ffnt="firefox --new-tab"
alias ffp="firefox --profile"
alias ffsm="firefox --safe-mode"
By ordering the aliases alphabetically, it is simpler to see which aliases have already been used.
You could wish to use nohup and the background operator to launch Firefox.
Use Fuzzy Shell Historical past
Probably the most helpful shell utility you will ever set up is a fuzzy historical past device. Atuin is an utility that does simply that, and it really works wherever. I personally use zsh-fzf-history-search, which is a Zsh plugin, however each are virtually equivalent.
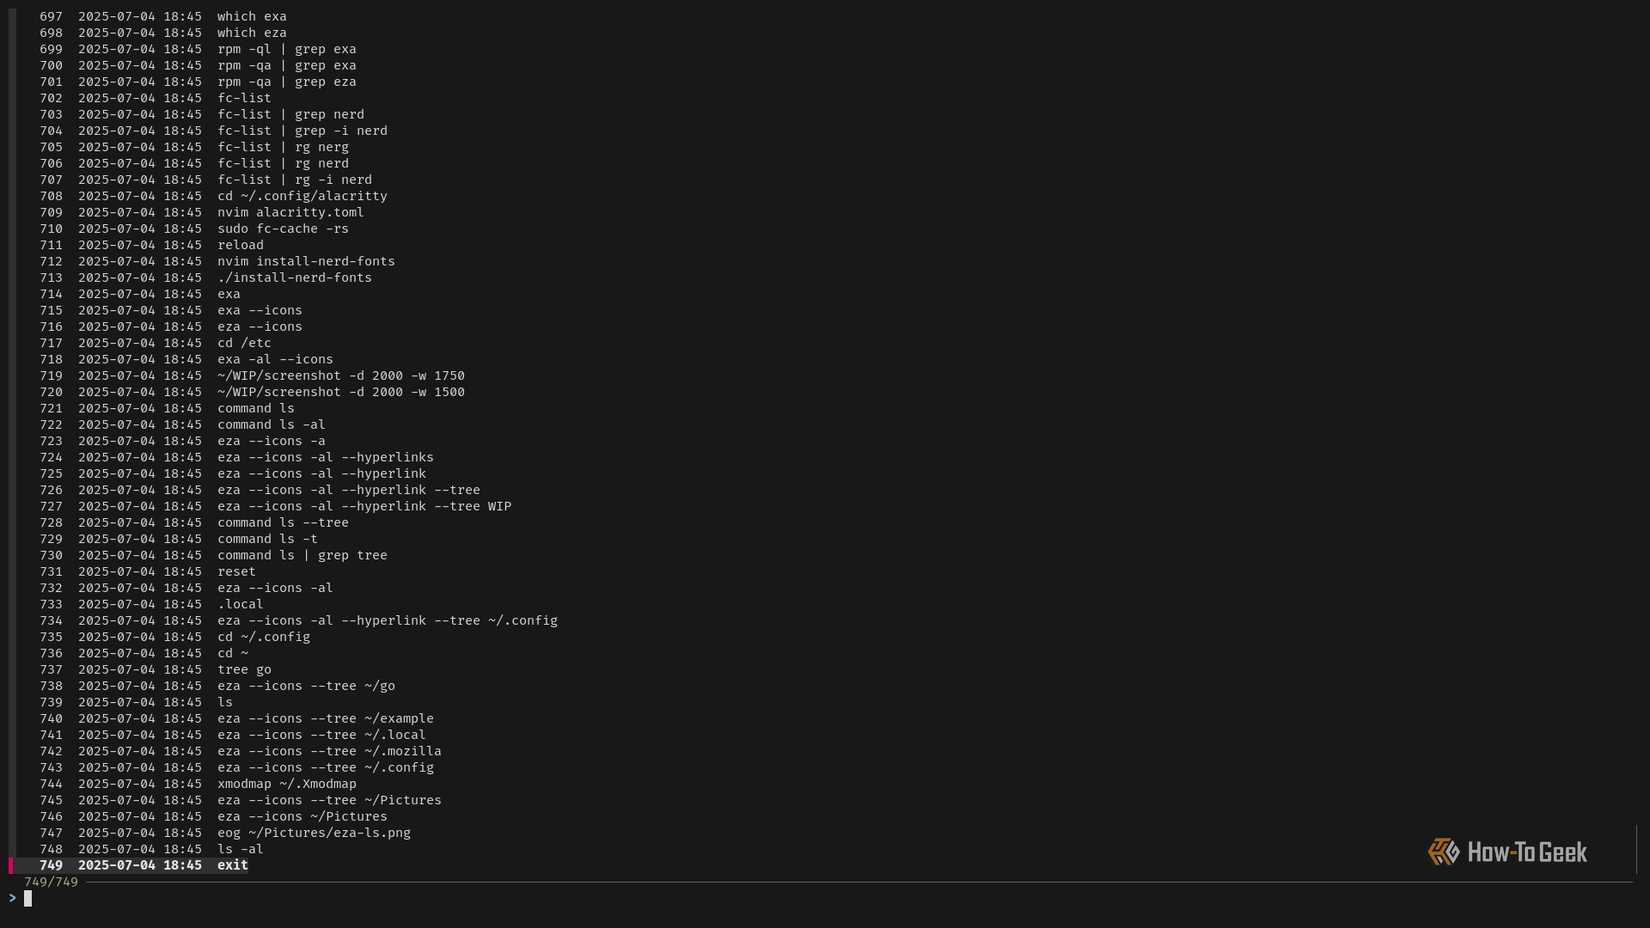
For those who spend time laboriously typing out a protracted command, it is sensible to have a fast solution to execute it once more. I typically spend a minute or two setting up a fancy command, then use fuzzy shell historical past to run it a whole bunch of instances over months and even years.
For those who take away only one factor: use a fuzzy shell historical past plugin or utility. I like to recommend Atuin. For those who’re , now we have an introduction to Atuin.
A Flat File of Instructions
The thought behind fuzzy shell historical past is easy—it collects your shell historical past, removes just a few pointless particulars, and sends the end result to a program known as FZF. We will do one thing comparable, besides we are going to use FZF to select our instructions from a plain previous textual content file so we are able to execute them.
FZF is designed that will help you shortly choose objects from lengthy lists. It is a vital device that is a part of any superior shell toolkit, and if you wish to enhance your terminal expertise, I extremely advocate studying the right way to use it. FZF is simple to select up and contains many superior options for extra skilled customers.
The next is the best instance that demonstrates how FZF can be utilized to go looking by way of a number of traces of textual content:
echo "foonbar" | fzf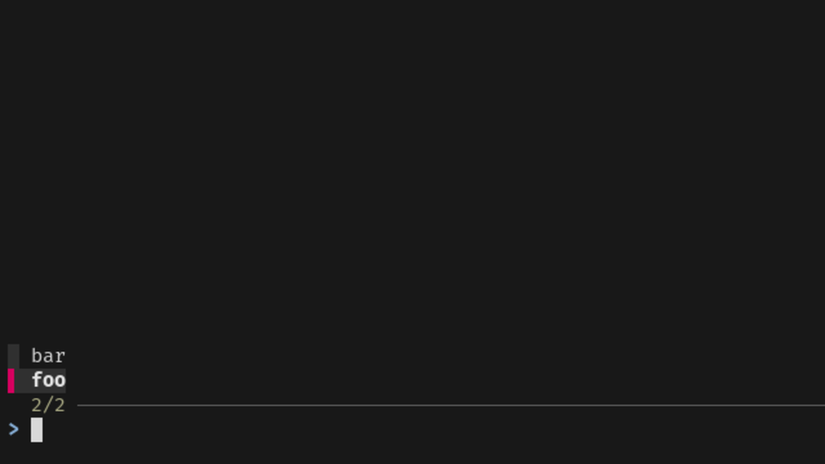
Once you begin typing, FZF narrows down the record dynamically, updating the choices in actual time. When you make a choice, FZF prints your chosen entry. Most customers ship that alternative to a different command for additional processing. For instance, with echo “foonbar” | fzf | tr ‘[:lower:]’ ‘[:upper:]’, your chosen phrase is transformed to uppercase.
Now we wish to construct and search over our personal command record. First, create a file with instructions in it:
echo "ls -alndir" > ~/.instructionsThen add the next perform to your .bashrc file. If you do not know what that’s, now we have an article that explains what the .bashrc file is:
fe() {
  eval "$(fzf <"${HOME}/.instructions" || return)"
}
Reload your shell with supply ~/.bashrc, and run fe (fuzzy execute). When you choose a command, it executes routinely. You might be free so as to add any instructions to the “~/.instructions” textual content file.
For those who’re on Zsh, you will have the posh of with the ability to edit the instructions earlier than executing them. In your .zshrc file put:
fe() {
  print -z "$(fzf <"${HOME}/.instructions" || return)"
}
Now if you run this, it’s going to populate your command line first, and you may edit it or just hit return to run it.
Now that you understand how to totally ship instructions to the background, you possibly can safely launch purposes from the terminal with out cluttering your workspace with a number of terminal home windows. You possibly can add these instructions—together with nohup and the background operator—to your command file or your shell historical past to quickly launch purposes. For instructions with complicated parameters, aliases are helpful.
I take advantage of all of those rules to shortly launch purposes from the terminal. Whereas devoted launchers are a a lot better answer, generally you simply wish to run one thing immediately within the terminal for comfort. Now it is simpler than ever.